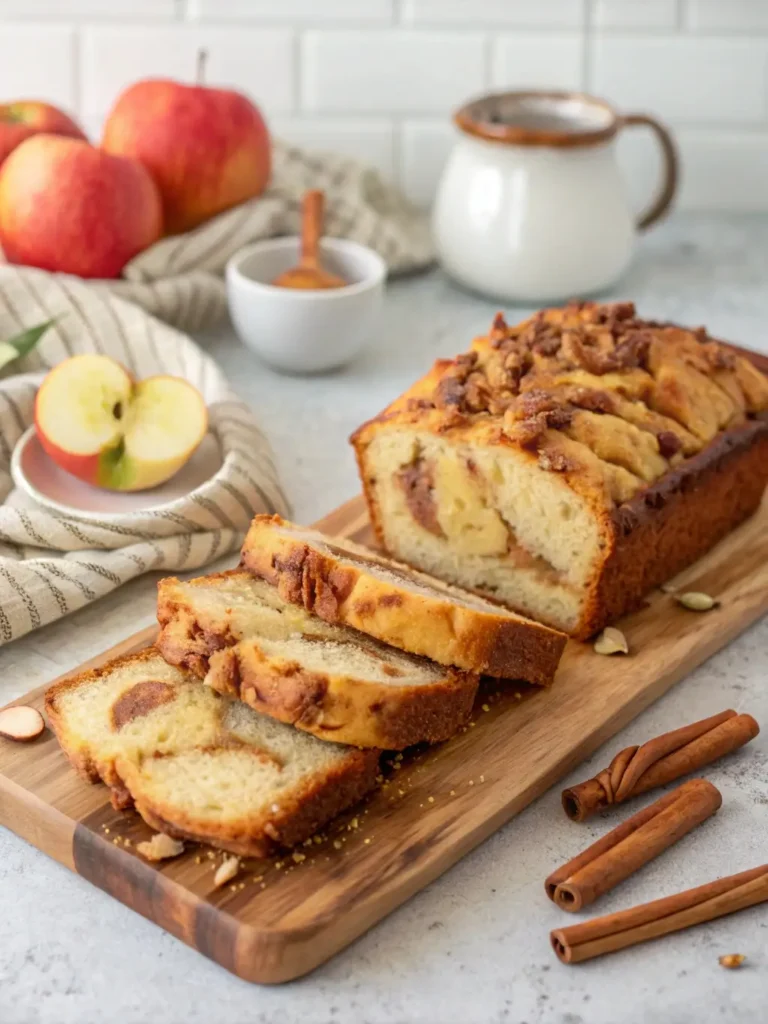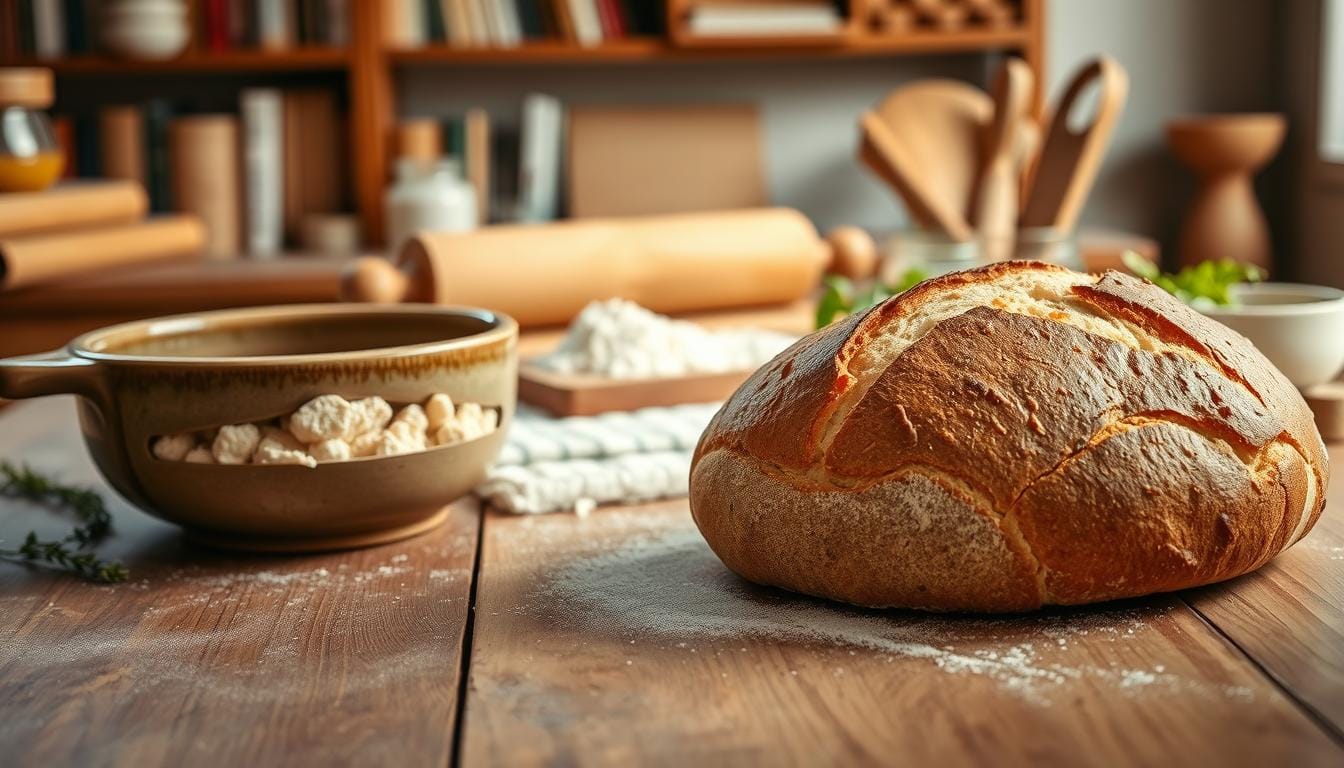
Sourdough Recipes with Starter: Bake Flavorful Bread
Sourdough Recipes with Starter :
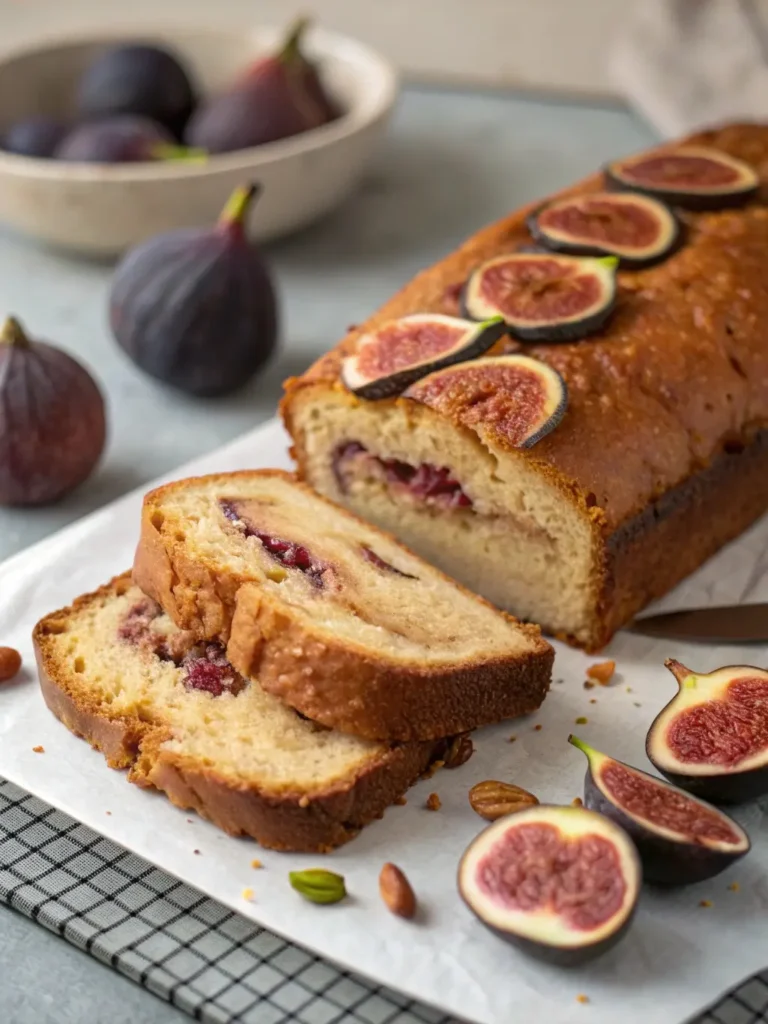
Every time I pull a golden, crusty sourdough bread from my oven, I’m taken back to my grandmother’s kitchen. The smell of fermented dough reminds me of her patient hands kneading and caring for her sourdough. Baking with a sourdough starter is more than making bread. It’s about connecting with a timeless tradition that turns simple ingredients into magic.
Your sourdough journey starts here. Whether you’re a curious home baker or a passionate bread lover, making incredible sourdough bread is possible. A sourdough starter is the heart of artisan bread-making. It gives deeper flavors and more complex textures than traditional yeasted breads.
This guide will reveal sourdough bread’s secrets. You’ll learn how to grow a vibrant sourdough starter and make amazing loaves. You’ll discover the art and science of creating truly exceptional bread.
Table of Contents
Key Takeaways
- Sourdough starter creates deeper, more complex bread flavors
- Homemade sourdough connects you to traditional baking methods
- Anyone can learn to create delicious sourdough bread
- A healthy starter is the foundation of great bread
- Sourdough baking is both an art and a science
Understanding Your Sourdough Starter’s Health
Making a sourdough starter is an art that needs patience and attention. Your wild yeast is like a living creature that needs care. A healthy starter is key to making great bread.

Signs of a Mature Starter
Spotting a strong sourdough starter means looking for certain signs. A mature starter shows several important traits:
- Doubles or triples in size in 4-8 hours after feeding
- Has a network of small bubbles
- Looks slightly domed
- Smells tangy and pleasant
Feeding Schedule and Maintenance
Feeding your starter regularly is vital. Your wild yeast needs food to stay lively and healthy.
| Starter Type | Feeding Frequency | Feeding Ratio |
|---|---|---|
| Room Temperature Starter | Daily | 1:1:1 (starter:flour:water) |
| Refrigerated Starter | Weekly | 1:5:5 (starter:flour:water) |
Optimal Temperature Conditions
Temperature is crucial for your starter’s growth. Ideal fermentation happens between 70-80°F (21-27°C). Warmer temps speed up fermentation, while cooler temps slow it down. Keep the temperature steady for consistent starter performance.
Knowing these key points about sourdough starter health helps you create a thriving culture. This culture will make amazing bread every time.
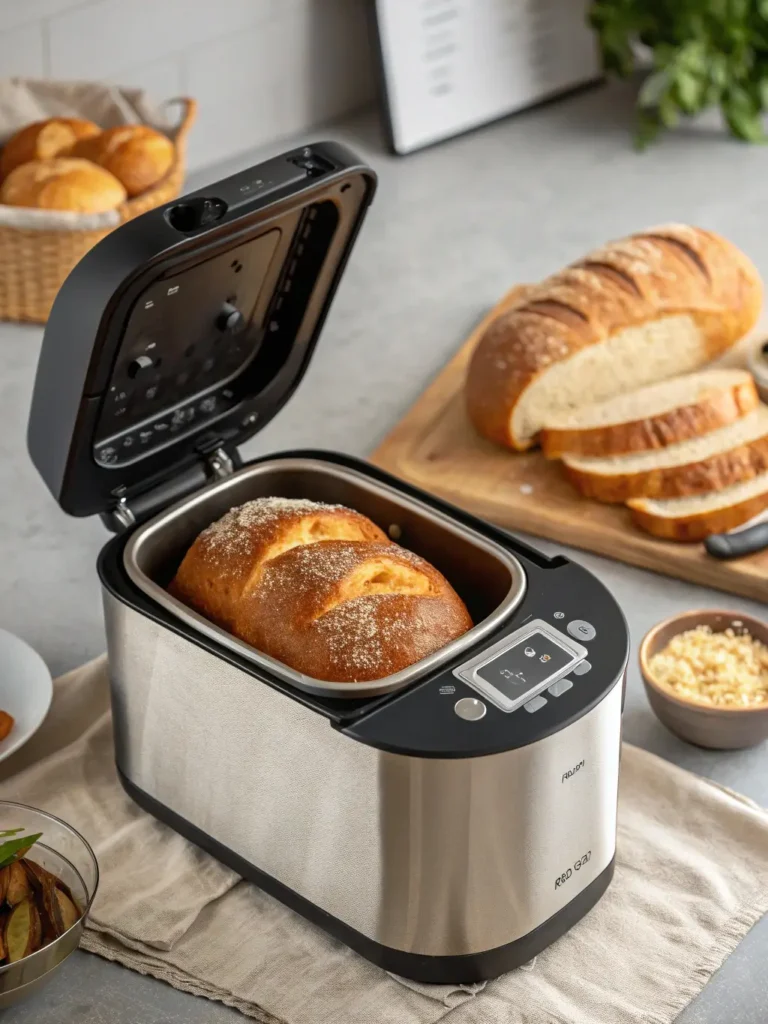
Essential Equipment for Sourdough Baking
Starting your sourdough baking journey needs more than just passion and a good starter. The right tools can take your baking from amateur to pro level. Whether you’re new or have experience, the right tools make baking smoother and more fun.
Your sourdough baking kit should have key pieces for perfect loaves. Each tool is vital for flavor, texture, and look of your bread.
- Dutch Oven: Creates steam and helps develop a crispy, golden crust
- Banneton Basket: Provides structure and beautiful pattern for your loaf
- Bread Lame: Essential for precise scoring and decorative cuts
- Digital Kitchen Scale: Ensures accurate ingredient measurements
- Dough Scraper: Helps manage sticky sourdough during mixing and shaping
Here’s a detailed list of must-have sourdough baking tools:
| Equipment | Purpose | Recommended Type |
|---|---|---|
| Dutch Oven | Creates steam, develops crust | Cast iron, 5-7 quart |
| Banneton Basket | Proofing and shaping | Rattan, round or oval |
| Bread Lame | Scoring bread surface | Stainless steel with replaceable blade |
| Kitchen Scale | Precise ingredient measurement | Digital, grams/ounces |
Don’t stress if you can’t get all the specialized gear right away. Many bakers start with basic tools and add more as they go. The key is to learn techniques and keep your starter healthy.
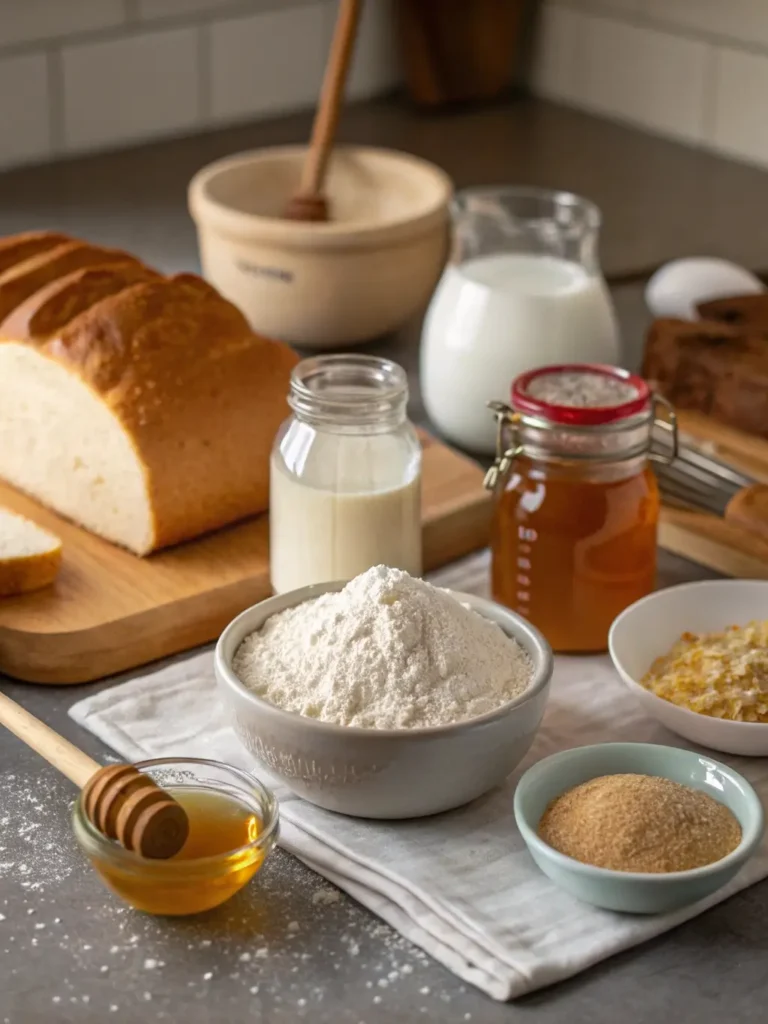
Basic Ingredients for Classic Sourdough Bread
Making homemade sourdough bread is all about the right ingredients. Each one is key to creating a delicious loaf. They help with flavor, texture, and quality.
Choosing the Right Flour
Choosing high-quality flour is crucial for sourdough bread. Bakers suggest using bread flour with 12-12.5% protein. This protein level is perfect for the chewy texture sourdough is known for.
- Bread flour (12-12.5% protein)
- Whole wheat flour for added nutrition
- Rye flour for deeper flavor profiles
Water Quality and Temperature
Water is more than just a binder in sourdough. Its quality and temperature affect fermentation and texture. Use filtered or spring water at 70-75°F for the best results.
| Water Type | Impact on Sourdough |
|---|---|
| Filtered Water | Consistent fermentation |
| Chlorinated Water | Can inhibit starter growth |
Salt Types and Measurements
Salt does more than add flavor to sourdough. It controls yeast and strengthens gluten. Use fine sea salt or kosher salt and measure precisely for consistency.
- Fine sea salt: Recommended for even distribution
- Use digital scale for accurate measurements
- Typical ratio: 2% salt by flour weight
The Science Behind Sourdough Fermentation
Sourdough fermentation is a magical process that turns simple ingredients into a complex, flavorful bread. Wild yeast and beneficial bacteria work together to create something amazing.
When you start making sourdough, you’re creating a living ecosystem of microorganisms. Wild yeast is key, breaking down carbs and making flavors that commercial yeast can’t match.
- Wild yeast consumes sugars in the flour
- Lactic acid bacteria develop tangy flavors
- Fermentation improves bread digestibility
- Natural enzymes activate during the process
The fermentation process does more than add flavor. It changes the bread’s nutritional structure, making nutrients easier to digest and breaking down hard-to-digest proteins.
| Fermentation Stage | Microbial Activity | Resulting Characteristics |
|---|---|---|
| Initial Mixing | Wild yeast activation | Early flavor development |
| Bulk Fermentation | Bacterial metabolism | Increased acidity and complexity |
| Final Proofing | Continued microbial interaction | Enhanced texture and taste |
Understanding sourdough’s science helps you see the amazing dance of microorganisms. Each fermentation stage adds to the bread’s unique qualities.
Sourdough Recipes with Starter: Master Recipe
Making perfect sourdough bread needs patience and precision. Your sourdough baking journey starts with mastering key techniques. This master recipe will show you how to make authentic sourdough bread with your homemade starter.
Levain Build Instructions
The levain is the heart of your sourdough recipes with starter. To make a strong levain, you’ll need:
- 30g active sourdough starter
- 90g bread flour
- 90g water at room temperature
Mix these ingredients well in a clean container. Cover it loosely and let it sit at room temperature for 4-6 hours. Your levain is ready when it doubles in size and shows lots of bubbling.
Dough Mixing Technique
Mixing your sourdough baking ingredients needs a gentle touch. Mix your levain with:
- 500g bread flour
- 350g water
- 10g salt
Use your hands to mix until there’s no dry flour left. Let the dough rest for 30 minutes before starting your stretch and fold process.
Bulk Fermentation Process
During bulk fermentation, your dough gets flavor and structure. Do 4-6 sets of gentle stretch and folds over 3-4 hours. Look for these signs of proper fermentation:
- Increased volume
- Bubbles throughout the dough
- Smooth, elastic texture
Your dough is ready when it’s 50% bigger and feels puffy and light. Bulk fermentation turns your simple ingredients into a complex, flavorful bread ready for shaping.
Mastering the Stretch and Fold Technique
The stretch and fold technique is a game-changer in making artisan bread. It’s different from kneading because it builds gluten gently. This way, the dough doesn’t get overworked.
Your hands are the main tool for making a strong, elastic bread. This is key in sourdough baking.
Proper stretch and fold techniques can turn your sourdough into a beautifully structured loaf. The process involves several key steps:
- Wet your hands to prevent sticking
- Gently lift and stretch the dough from one side
- Fold the stretched portion over the center of the dough
- Rotate the bowl and repeat the process
In sourdough baking, you’ll do 4-6 stretch and fold sessions during bulk fermentation. Each session builds strength and creates intricate air pockets. These air pockets give artisan bread its open crumb and delightful texture.
The key is to be gentle and consistent. Look for these signs of proper gluten development:
- Increased dough elasticity
- Smoother surface texture
- Less stickiness
- Noticeable volume increase
Practice makes perfect in sourdough baking. Your stretch and fold technique will get better with each loaf. This will help you make professional-quality artisan bread at home.
Shaping Your Sourdough Loaf
Learning to shape is key for making stunning homemade sourdough bread. It turns a messy, sticky dough into a neat loaf. This loaf looks great and feels wonderful to eat.
Good shaping builds surface tension. This is vital for a beautiful rise and a crispy, golden crust.
Pre-Shaping Foundations
Before you shape it for real, pre-shaping gets the dough ready. Here’s what to do:
- Gently take the dough out of its container
- Handle it lightly to keep it from losing air
- Make a basic round shape without overworking it
- Let it rest for 20-30 minutes
Final Shaping Techniques
When making your sourdough, you’ll shape it into two main forms:
- Boule (Round): A classic round loaf
- Batard: An oval loaf with tapered ends
Avoiding Common Shaping Mistakes
Stay away from these common mistakes when shaping sourdough:
- Don’t overwork the dough, as it kills the air bubbles
- Avoid using too much flour, which hinders surface tension
- Keep your shaping techniques consistent
- Don’t rush it; let the dough rest properly
Shaping sourdough takes practice. But with each try, you’ll get better at making beautiful, artisan loaves.
Proofing Times and Temperature Control
Mastering proofing is key in making fermented bread. The final texture and taste of your sourdough depend on the right proofing conditions. Temperature and time are crucial for developing sourdough’s unique flavors.
The proofing stage turns your sourdough into a light, tasty loaf. To bake a great sourdough, you need to watch the environment closely. It affects how the dough ferments.
- Room temperature impacts fermentation speed
- Cooler environments slow down proofing
- Warmer spaces accelerate dough development
Use the finger dent test to see if your sourdough is ready. Press your finger into the dough gently. If it springs back slowly, it’s proofed right. Quick rebound means it’s not ready yet. No rebound means it’s over-proofed.
The best proofing temperatures are between 70-75°F (21-24°C). Professional bakers use proofing boxes for consistent conditions. But, home bakers can use:
- Warm kitchen corners
- Turned-off oven with light on
- Slightly warm heating pad
Different flours and starter strengths change proofing times. Whole grain sourdough needs longer fermentation than white flour. Watch how your dough behaves and adjust as needed.
Scoring Patterns and Techniques
Scoring is a key skill in making beautiful sourdough bread. It’s more than just decorating. It helps control how the bread grows and makes it look amazing.
When you start scoring your sourdough, knowing the basics is important. The cuts you make help the bread grow right and look good.
Basic Scoring Designs
Beginners should start with simple patterns. These help the bread grow evenly:
- Single straight slash across the loaf
- Simple cross pattern
- Three parallel diagonal cuts
Advanced Decorative Cuts
Once you’re more confident, try more detailed designs. These can turn your sourdough into a masterpiece:
- Wheat stalk design
- Geometric patterns
- Intricate leaf-like shapes
Tools for Perfect Scoring
To get clean cuts, use the right tools:
- Lame: A curved blade for bread scoring
- Sharp razor blades
- Precision baker’s knife
Practice is essential for mastering scoring. Each cut teaches you about the bread’s look and feel.
Baking Methods and Steam Generation
Steam is key to a perfect sourdough bread crust. When baking at home, knowing how to create steam can make a big difference. It helps get that golden, crispy crust and lets the bread rise well in the oven.
Professional bakers use different ways to make steam in home ovens. Here are the top methods for making sourdough at home:
- Dutch Oven Method: Preheat a cast-iron Dutch oven with a lid, creating a sealed environment that traps moisture
- Baking Stone with Steam Pan: Place a metal pan filled with hot water on the bottom rack
- Spray Bottle Technique: Mist the oven walls and bread surface before baking
- Lava Rocks Method: Place preheated lava rocks in a cast-iron pan to generate instant steam
Your oven temperature is very important for baking sourdough. Start at a high temperature, 450-475°F, for the first 20 minutes. Pro tip: Lower the temperature to 425°F for the remaining baking time to ensure even cooking.
Each method has its own benefits. Try them out to see which one works best for your homemade sourdough. The goal is to keep moisture during the first baking stage for that perfect crust.
Troubleshooting Common Sourdough Issues
Baking sourdough bread can be tough, even for experts. Knowing common problems with your starter and bread-making helps you make perfect loaves every time.
When you work with sourdough starter, you might face several common issues. These problems can affect your bread’s quality. Spotting these issues early lets you make quick fixes and improve your baking skills.
- Overproofed dough results in flat, dense sourdough bread
- Underproofed starter creates bread with poor volume and texture
- Inconsistent fermentation leads to unpredictable results
Temperature is key for sourdough starter health. Your starter needs warm conditions, between 70-80°F, for best fermentation. Cold slows yeast, and too much heat can harm good microbes.
| Issue | Possible Cause | Solution |
|---|---|---|
| Weak Oven Spring | Inactive Starter | Refresh starter, ensure peak activity before baking |
| Dense Crumb | Insufficient Fermentation | Extend bulk fermentation time |
| Overly Sour Flavor | Long Fermentation | Reduce starter percentage, control room temperature |
Mastering sourdough bread challenges takes time and practice. Watch your starter’s behavior, track your environment, and adjust your methods as needed.
Conclusion
Starting with sourdough recipes is more than baking bread. It’s a craft that links you to old traditions. You’ll find joy, tasty experiments, and learn new skills that make simple ingredients into amazing bread.
Every time you use your sourdough starter, you’ll learn more and feel more confident. You’ll get better at making a strong starter, controlling fermentation, and shaping dough. Remember, every bread that doesn’t turn out perfectly is a chance to learn something new.
By keeping at sourdough baking, you’ll make incredible bread and have a fulfilling experience. As you try different flours, water amounts, and methods, you’ll connect with your bread on a deeper level. It’s more than just food; it’s a journey.
Join the community of sourdough enthusiasts. Share your stories, learn from others, and enjoy the fruits of your growing skills in making sourdough bread.
FAQ
What is a sourdough starter, and how do I create one?
A sourdough starter is a mix of flour and water with wild yeast and bacteria. Start by mixing equal parts flour and water. Let it sit at room temperature, feeding it daily with fresh flour and water.
After 5-7 days, it will smell tangy and be bubbly. This means it’s ready for baking.
How often should I feed my sourdough starter?
Feed your starter daily if it’s at room temperature. If it’s in the fridge, feed it once a week. Before baking, feed it 4-12 hours in advance.
Can I use all-purpose flour for my sourdough starter?
While all-purpose flour works, bread flour or whole wheat flour are better. They have more nutrients for yeast and bacteria. Rye flour is also great for starter development.
What temperature is best for maintaining a sourdough starter?
The best temperature is 70-80°F (21-27°C). Cooler temperatures slow it down, warmer speeds it up. Use a proofing box or a warm spot if your kitchen is cool.
How can I tell if my sourdough starter is healthy?
A healthy starter smells slightly sour and bubbles after feeding. It should double or triple in 4-8 hours. It should be light and airy.
If it separates, has gray liquid, or smells like alcohol, it needs more feeding.
Can I make gluten-free sourdough starter?
Yes, use rice flour, sorghum flour, or gluten-free blends. The process is similar, but watch the consistency and fermentation closely.
What equipment do I need to start making sourdough bread?
You’ll need a digital kitchen scale, mixing bowls, dough scraper, and a proofing basket. A Dutch oven or baking stone and a sharp blade or lame are also necessary. You can start with basic kitchen items.
How long does it take to make sourdough bread?
The whole process takes 24-36 hours. This includes starter prep, levain building, mixing, fermentation, proofing, and baking. Much of this time is waiting for fermentation to develop flavors.
Why is my sourdough bread dense and not rising properly?
Dense bread can come from an inactive starter, not enough gluten, under-proofing, or bad shaping. Make sure your starter is active, do stretch and folds, and allow proper fermentation and shaping.
Can I freeze my sourdough starter?
You can freeze a small starter as a backup, but it’s not for long-term storage. Freezing can harm the yeast and bacteria balance. Refrigeration is better for storing when not baking often.