How to Make Perfect Sourdough in a Bread Machine in:2025
Every time I pulled a lifeless loaf from my oven, I dreamed of creating the perfect artisan bread. The turning point came when I discovered the magic of a sourdough bread machine. It’s a game-changer for home bakers seeking restaurant-quality results with minimal effort.
Crafting sourdough bread doesn’t have to be complicated. With the right bread maker technique, you can transform simple ingredients into a tantalizing loaf. This guide will walk you through making extraordinary sourdough bread right in your kitchen, using a bread machine to simplify the process.
Imagine pulling out a steaming loaf of sourdough with a crisp crust and tender crumb. You can achieve this without hours of complicated kneading and proofing. Your bread machine can be the secret weapon that turns your baking dreams into delicious reality.
Table of Contents
Key Takeaways
- Sourdough bread machines combine convenience with artisan quality
- You can achieve professional-level bread with minimal technical skills
- Bread makers simplify the complex sourdough bread-making process
- Homemade sourdough offers superior flavor and texture
- Anyone can create exceptional sourdough bread at home
Understanding Sourdough Basics and Bread Machine Benefits
Sourdough bread is a special treat that turns simple ingredients into a tasty delight. It’s different from regular bread because it uses a mix of wild yeast and natural bacteria to ferment.

Exploring sourdough reveals a unique process. It’s not like making regular bread. The natural fermentation makes it taste richer and easier to digest.
What Makes Sourdough Unique
Sourdough bread is special for several reasons:
- Naturally occurring wild yeast instead of commercial yeast
- Complex, tangy flavor profile
- Enhanced nutritional value
- Improved digestibility
Advantages of Automatic Bread Machine for Sourdough
An automatic bread machine can change how you make sourdough. These machines offer control and ease that traditional methods can’t.
| Bread Machine Benefit | Sourdough Advantage |
|---|---|
| Consistent Temperature | Optimal fermentation conditions |
| Automated Kneading | Reduces manual labor |
| Precise Timing | Controlled proofing cycles |
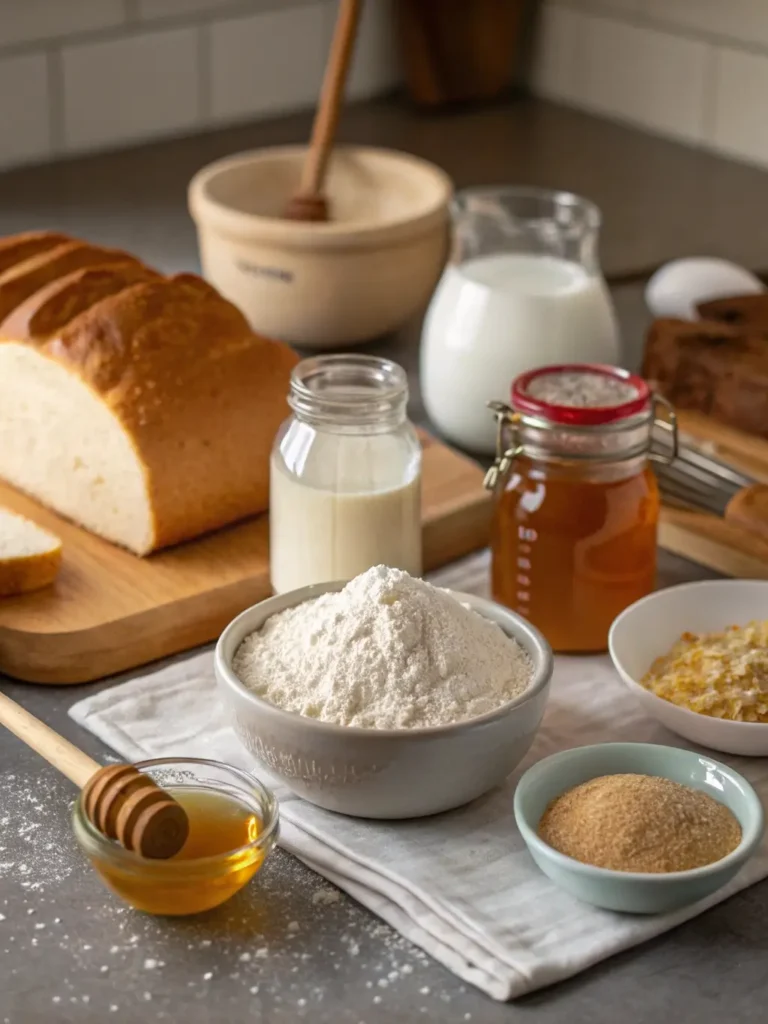
Essential Equipment and Ingredients
To begin making sourdough, you’ll need a few things:
- High-quality bread flour
- Active sourdough starter
- Automatic bread machine
- Digital kitchen scale
- Mixing bowls
By knowing about fermented dough and using a bread machine, you can make amazing sourdough bread at home.
Creating and Maintaining Your Sourdough Starter
Starting your bread baking journey begins with creating a healthy sourdough starter. This living culture is the heart of delicious artisan bread. It transforms simple ingredients into a flavorful masterpiece. Unlike commercial yeast, a sourdough starter requires patience and care to develop its unique character.
To create your sourdough starter from scratch, you’ll need just two ingredients: flour and water. Wild yeasts naturally present in flour will come alive with consistent feeding and temperature control.
- Choose organic whole wheat or rye flour for best results
- Use filtered or bottled water at room temperature
- Select a clear glass container for monitoring growth
- Maintain consistent room temperature between 70-80°F
Your sourdough starter requires daily attention during the first week. Mix equal parts flour and water, discarding half the mixture before each feeding. Within 5-7 days, you’ll notice bubbles forming and a tangy aroma developing – signs your starter is becoming active.
Signs of a healthy sourdough starter include:
- Consistent rising and falling pattern
- Doubling in volume within 4-8 hours
- Pleasant, slightly sour smell
- Visible bubbles throughout the mixture
Once established, store your sourdough starter in the refrigerator and feed it weekly. With proper care, your starter can become a lifelong companion in your bread baking adventures.
Selecting the Right Flour for Sourdough Bread Machine Success
Choosing the perfect flour is key to making delicious homemade sourdough in your bread machine. The right flour can make your bread baking experience amazing. You’ll get that perfect texture and flavor every home baker dreams of.
Your flour choice is very important for sourdough bread success. Different flours add unique qualities to your baking. They affect taste and texture.
Best Flour Types for Sourdough Bread
- Bread flour (protein content: 12-14%)
- Whole wheat flour
- Rye flour
- Spelt flour
Understanding Protein Content and Gluten Development
Protein content affects your gluten network’s strength. Higher protein flours make stronger gluten. This helps your sourdough rise well and gives a chewy texture.
Specialty Flour Combinations for Enhanced Flavor
Try mixing flour types to improve your homemade sourdough. Combining bread flour with whole grain flours adds depth and complexity to your bread.
| Flour Type | Protein Content | Flavor Profile |
|---|---|---|
| Bread Flour | 12-14% | Neutral, strong gluten |
| Whole Wheat | 11-13% | Nutty, robust |
| Rye Flour | 8-10% | Tangy, earthy |
Great sourdough comes from knowing how flours work with your starter and bread machine. Begin with basic bread flour. Then, try more complex mixes to find your ideal loaf.
Mastering Hydration Levels in Machine-Made Sourdough
Understanding hydration is key to making the perfect crusty bread in your bread machine. Hydration is the water-to-flour ratio in your dough. It greatly affects the bread’s texture and quality.
Different hydration levels lead to different bread types. A lower hydration (65-70%) makes the bread denser and tighter. On the other hand, higher hydration (75-80%) results in a lighter, airier bread with bigger holes.
- Low Hydration (65-70%): Firmer dough, compact texture
- Medium Hydration (70-75%): Balanced crumb structure
- High Hydration (75-80%): Open, light crumb with larger air pockets
Calculating hydration in a bread machine is easy. Just divide the water weight by the flour weight and multiply by 100. For instance, 300g water and 500g flour equals 60% hydration.
For those wanting a crusty bread, try different hydration levels. Higher hydration can give your bread a more artisan feel, even in a bread machine.
Pro tip: Begin with a 70% hydration level and tweak it as needed. The goal is to find the right balance for your machine and taste.
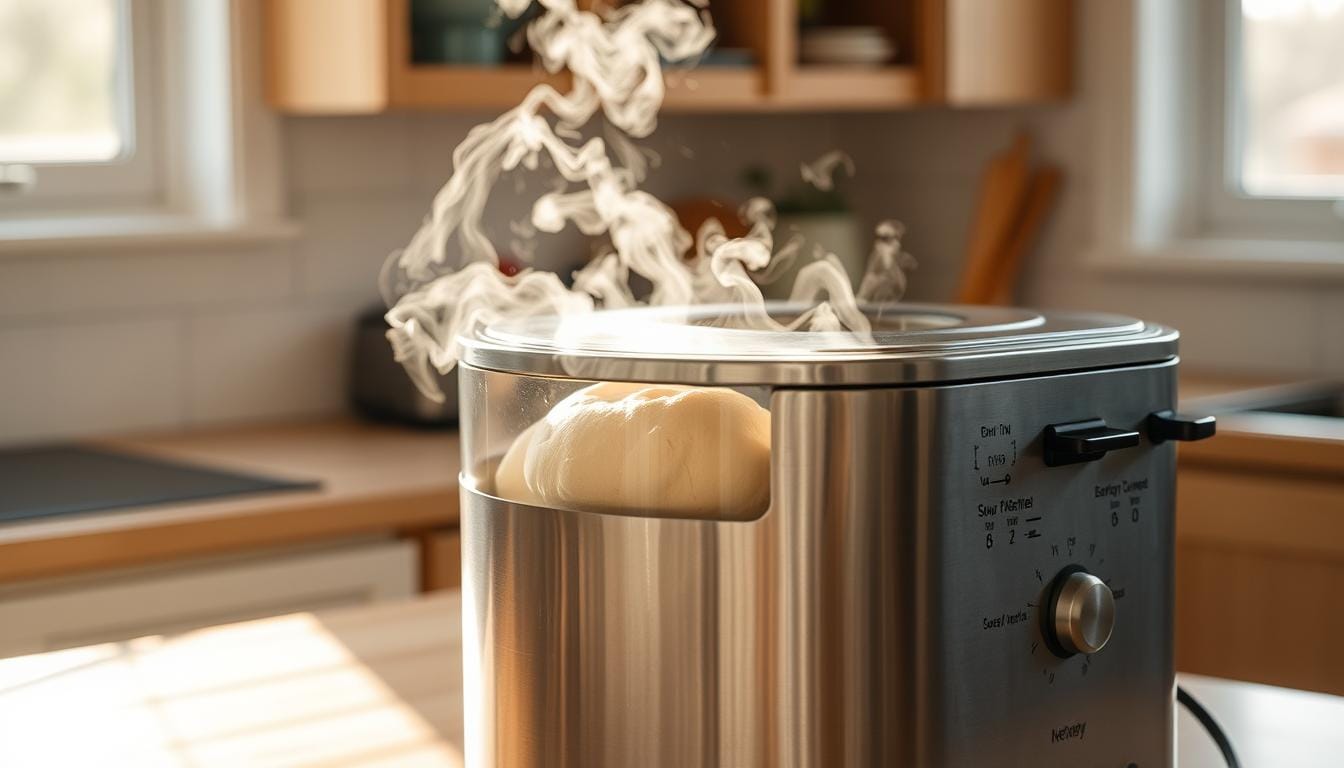
Step-by-Step Sourdough Bread Machine Process
Making sourdough bread in a bread machine is all about precision. It turns complex sourdough techniques into a simple, rewarding process.
Creating sourdough bread in a machine needs mastering several key stages. Each step is vital for flavor, texture, and rise.
Mixing and Kneading Fundamentals
Start by measuring ingredients carefully when making sourdough in a bread machine. The mixing phase is key for gluten development:
- Combine active sourdough starter with flour
- Add water at room temperature
- Use the machine’s dough setting for initial mixing
- Allow ingredients to hydrate before kneading
Fermentation and Proofing Strategies
Sourdough needs longer fermentation than regular bread. Your bread machine offers special benefits:
| Fermentation Stage | Recommended Duration | Purpose |
|---|---|---|
| First Rise | 2-4 hours | Develop complex flavors |
| Second Rise | 1-2 hours | Improve texture and volume |
Precision Baking Cycle Adjustments
Modern bread makers have special sourdough settings. Try different cycle times for the crust color and bread density you want. Each machine is different, so check your manual for the best settings.
With practice, you’ll get great at making sourdough in your bread machine. Its advanced technology makes it easy.
Troubleshooting Common Sourdough Bread Machine Issues
Baking bread with a machine can be tricky, even with homemade sourdough. Knowing common problems helps make perfect loaves every time.
Dense loaves are a common issue. This usually happens if your starter isn’t active enough or if you have the wrong water ratio. Look at these possible reasons:
- Inactive or weak sourdough starter
- Insufficient kneading time
- Old or expired flour
- Incorrect water temperature
Dealing with overly sour flavor means making some changes:
- Reduce fermentation time
- Use younger sourdough starter
- Adjust starter-to-flour ratio
- Experiment with different flour types
Rising problems can be fixed by checking your machine’s settings and starter’s health. Make sure your starter is bubbly and active before baking. Also, check that your machine’s settings are right for sourdough. Use a thermometer to check ingredient temperatures.
To get consistent results, keep a detailed journal of your baking. Track your ingredients, temperatures, and methods. This helps you spot patterns and make exact changes to your sourdough bread machine method.
Advanced Tips for Artisan-Style Machine Sourdough
To turn your bread machine sourdough into a true artisan bread, you need some creative tricks. Bread machines are handy, but they can’t give you the crusty bread feel many bakers want.
Professional bakers have secrets to make machine-made bread taste like artisan bread. With a few smart moves, your sourdough can get that perfect crispy outside and soft inside.
Mastering the Perfect Crust
Getting a crusty bread exterior is all about moisture and heat. Here are some pro tips:
- Preheat a cast-iron Dutch oven before putting your bread in
- Spritz water into the bread machine at the start of baking
- Take the bread out of the machine and bake it in a regular oven
Developing an Open Crumb Structure
An open crumb needs careful handling and just the right amount of water. The trick is to let it ferment long enough and handle it gently.
- Up your hydration to 75-80%
- Do gentle stretch and fold moves
- Let it proof longer for better gluten
Your journey to making artisan bread doesn’t stop with the bread machine. Trying out these methods will help you make sourdough that rivals what you find in restaurants.
Storing and Maintaining Freshness
Keeping your homemade sourdough fresh is key. The right storage can help preserve your bread’s quality. This ensures your sourdough stays delicious for longer.
Homemade sourdough is different from store-bought bread. It needs special care to keep its texture and taste just right.
- Room temperature storage works best for 2-3 days
- Use a bread box or paper bag to prevent moisture buildup
- Avoid plastic bags, which can make the crust soggy
Freezing is a great way to keep your sourdough fresh for longer. Wrap it tightly in plastic wrap and then in aluminum foil. To enjoy it, thaw at room temperature and refresh in the oven for a few minutes.
| Storage Method | Duration | Best Practices |
|---|---|---|
| Countertop | 2-3 days | Use bread box or paper bag |
| Refrigerator | 5-7 days | Wrap in cloth or paper |
| Freezer | Up to 3 months | Double wrap in plastic and foil |
Pro tip for bread baking enthusiasts: Slice your sourdough before freezing. This allows you to thaw only what you need and keeps the bread’s texture intact.
Reviving day-old sourdough is simple. A quick toast or brief oven warm-up can bring back its delightful crispness and enhance its natural flavors.
Conclusion
Learning to make sourdough bread in a bread machine is exciting. You’ll discover a new world of flavors. It might seem hard at first, but soon you’ll make amazing loaves.
The sourdough bread machine method makes bread making easy. You can make fresh, tangy bread with little effort. It’s all about knowing your ingredients and how they work together.
Don’t be shy to try new things in sourdough baking. Change the water amount, mix different flours, or adjust how long it proofs. Your bread machine helps create unique flavors and textures. Start with what you’ve learned and then find your own way.
Your sourdough bread machine adventure is just starting. Keep trying new things, tasting, and learning. Share your bread with others, write about your journey, and enjoy the journey of making homemade sourdough. With time and effort, your bread will be as good as any bakery’s.
FAQ
Can I make sourdough bread in any bread machine?
Most bread machines can handle sourdough. Look for one with customizable settings. This lets you control fermentation and proofing times. Machines with manual or custom cycles work best for sourdough.
How long does it take to make sourdough bread in a bread machine?
Making sourdough bread takes 12-18 hours. This includes starter prep and fermentation. The actual baking time in the machine is 3-4 hours, depending on your recipe and settings.
Do I need to buy a special sourdough starter?
You have three options. You can make your own starter, buy a dried one online, or get a piece from a local baker. Each method works well, and beginners can use any of them.
What type of flour works best for sourdough in a bread machine?
Bread flour is the top choice because of its high protein. You can also try whole wheat, rye, or custom blends. Choose unbleached, high-quality flours with 11-14% protein.
How do I know when my sourdough starter is ready to use?
A ready starter doubles or triples in 4-8 hours after feeding. It should smell tangy and bubbly. The “float test” in water shows it’s active and ready.
Can I make gluten-free sourdough in a bread machine?
Yes, but you need gluten-free flour blends and xanthan gum. Gluten-free sourdough needs careful handling and recipe tweaks.
How do I store my sourdough starter when not in use?
Store it in the fridge for less frequent feeding. Feed it once a week and let it warm up before using. For long-term storage, dry it on parchment paper and store the flakes in an airtight container.
Why is my sourdough bread dense and heavy?
Dense bread can come from an inactive starter, too little proofing, low hydration, or too much flour. Make sure your starter is active, allow enough fermentation time, and measure ingredients carefully for a lighter bread.
Can I make sourdough bread without a bread machine?
Absolutely! You can make sourdough bread without a machine. Use a mixing bowl, dutch oven, or baking sheet. The basic sourdough principles work the same way.
How can I get a crustier exterior when using a bread machine?
For a crisper crust, remove the bread right after baking and cool it on a rack. Brush it with water before baking or finish in a hot oven for a few minutes. This will make the crust crispier.