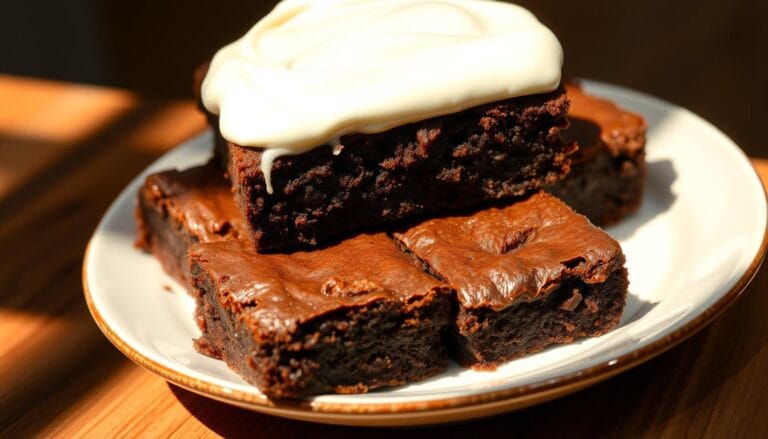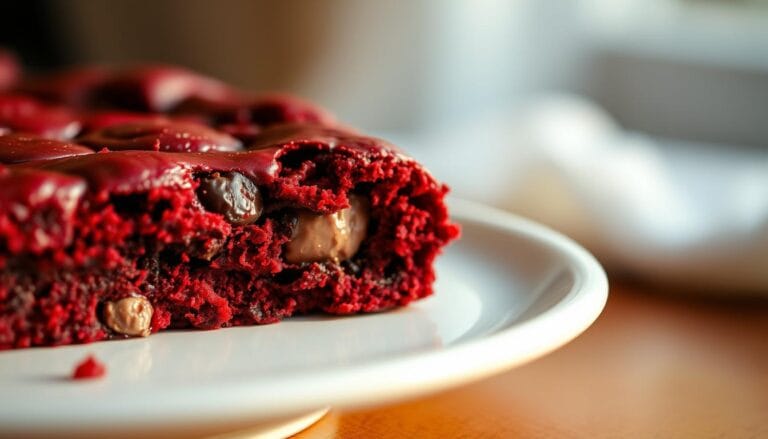
Ultimate Hershey Cocoa Brownies Recipe – Rich, Fudgy & Easy!
Every home baker knows that magical moment when chocolate aromas fill the kitchen. These Hershey cocoa brownies promise pure bliss. My grandmother’s chocolate desserts were legendary, turning simple ingredients into decadent treats.
Now, I’m sharing her secret to creating the most irresistible homemade brownies. These brownies will elevate your baking game.
Forget boxed mixes – these Hershey cocoa brownies deliver restaurant-quality richness with minimal effort. Whether you’re a seasoned baker or just starting out, this recipe guarantees fudgy, intensely chocolatey brownies. They will become your new go-to dessert.
Table of Contents
Key Takeaways
- Discover the ultimate Hershey cocoa brownies recipe
- Learn professional baking techniques for perfect texture
- Create restaurant-quality chocolate desserts at home
- Master the art of rich, fudgy brownies
- Impress family and friends with homemade brownies
Why These Hershey Cocoa Brownies Are the Perfect Chocolate Treat
Great baking starts with knowing the science behind it. Fudgy brownies made with cocoa powder are better than those with solid chocolate. They offer a special advantage.

The Science Behind Fudgy Texture
Getting the perfect brownie texture is all about the right mix of ingredients. Cocoa powder is key for that rich, dense feel everyone loves. It controls moisture and makes the inside smooth.
- Cocoa powder absorbs liquid more evenly than solid chocolate
- Provides consistent flavor distribution
- Allows for more predictable baking results
Benefits of Using Cocoa Powder vs Melted Chocolate
Using cocoa powder lets you control your baking better. It’s more reliable than melted chocolate. You can manage ingredients more easily.
| Cocoa Powder | Melted Chocolate |
|---|---|
| Stable at room temperature | Can separate or seize |
| Easier to measure | Harder to portion precisely |
| Lower fat content | Higher fat percentage |
What Makes This Recipe Special
Your brownies will be amazing thanks to Hershey cocoa powder. This recipe is simple and reliable. It makes delicious chocolate treats every time.
With the right ingredients and mixing, you can make incredible desserts. They will wow your family and friends.
Essential Ingredients for Perfect Brownies
Starting with the best ingredients is key to making the perfect brownie. The quality of your Hershey cocoa brownies depends on the ingredients you pick. Let’s look at the main ingredients that make a simple mix into a rich dessert.
- Unsalted Butter: Provides rich flavor and essential moisture
- Granulated Sugar: Creates sweetness and helps develop a crackly top
- Hershey’s Unsweetened Cocoa Powder: Delivers deep chocolate intensity
- Vanilla Extract: Enhances overall chocolate flavor profile
- Large Eggs: Bind ingredients and contribute to fudgy texture
- All-Purpose Flour: Gives structure to your brownies
- Salt: Balances sweetness and amplifies chocolate notes
Choosing the right ingredients is important. Use fresh eggs and pure vanilla extract. Hershey’s cocoa powder is key – it gives these brownies a unique chocolate taste.
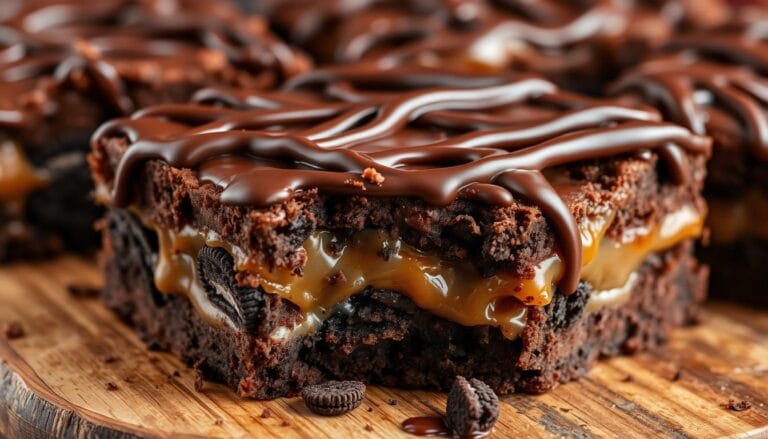
You can add your own twist to the recipe. Try adding chopped nuts, chocolate chips, or caramel. Each mix-in makes your brownie special, tailored to your liking.
Pro tip: Always measure ingredients precisely. Baking is a science, and accurate measurements ensure consistent, delicious results every time you make these incredible Hershey cocoa brownies.
Kitchen Tools and Equipment Needed
Preparing delicious baking recipes requires the right equipment. Your homemade brownies will only be as good as the tools you use. Getting started means assembling a few key kitchen essentials that will help you create perfect, fudgy treats every time.
When diving into your baking adventure, you’ll want to have specific tools ready to ensure success. The right equipment can make a significant difference in your brownie-making process.
Recommended Baking Pans
Selecting the perfect pan is crucial for baking recipes. For homemade brownies, consider these options:
- 8-inch or 9-inch square metal pan
- Aluminized steel baking pan for even heat distribution
- Non-stick pan with straight sides
Mixing Tools and Accessories
Your mixing arsenal should include:
- Large mixing bowl for combining ingredients
- Sturdy whisk for smooth batter
- Rubber spatula for scraping edges
- Measuring cups and spoons
Temperature Control Essentials
Precision is key in baking. Invest in these temperature tools:
- Accurate oven thermometer
- Digital instant-read thermometer
- Cooling rack for proper brownie rest
With these tools, you’ll be well-equipped to create mouth-watering homemade brownies that will impress family and friends.
Step-by-Step Mixing Method for Fudgy Results
Making the perfect easy brownie recipe needs a special mixing method. This method turns simple ingredients into rich, fudgy brownies. Your baking recipes will be a hit with this method, ensuring chocolatey goodness every time.
Begin by getting your ingredients ready at room temperature. This step is key for a smooth mix and the best brownie texture. Follow these important mixing steps:
- Melt butter in a large mixing bowl
- Whisk in Hershey cocoa powder until completely smooth
- Gradually incorporate granulated sugar
- Add eggs one at a time, mixing thoroughly
- Gently fold in dry ingredients
The secret to fudgy brownies is in the mixing. Don’t overmix, as it makes brownies tough and cakey. Instead, mix gently to avoid too much gluten.
Focus on your mixing technique. Mix until just combined, with a few small lumps okay. This way, you get brownies that are dense and rich, just like chocolate lovers want.
Pro tip: Use a spatula or wooden spoon for mixing. They give you better control than an electric mixer. Your gentle touch will make the brownies melt in your mouth.
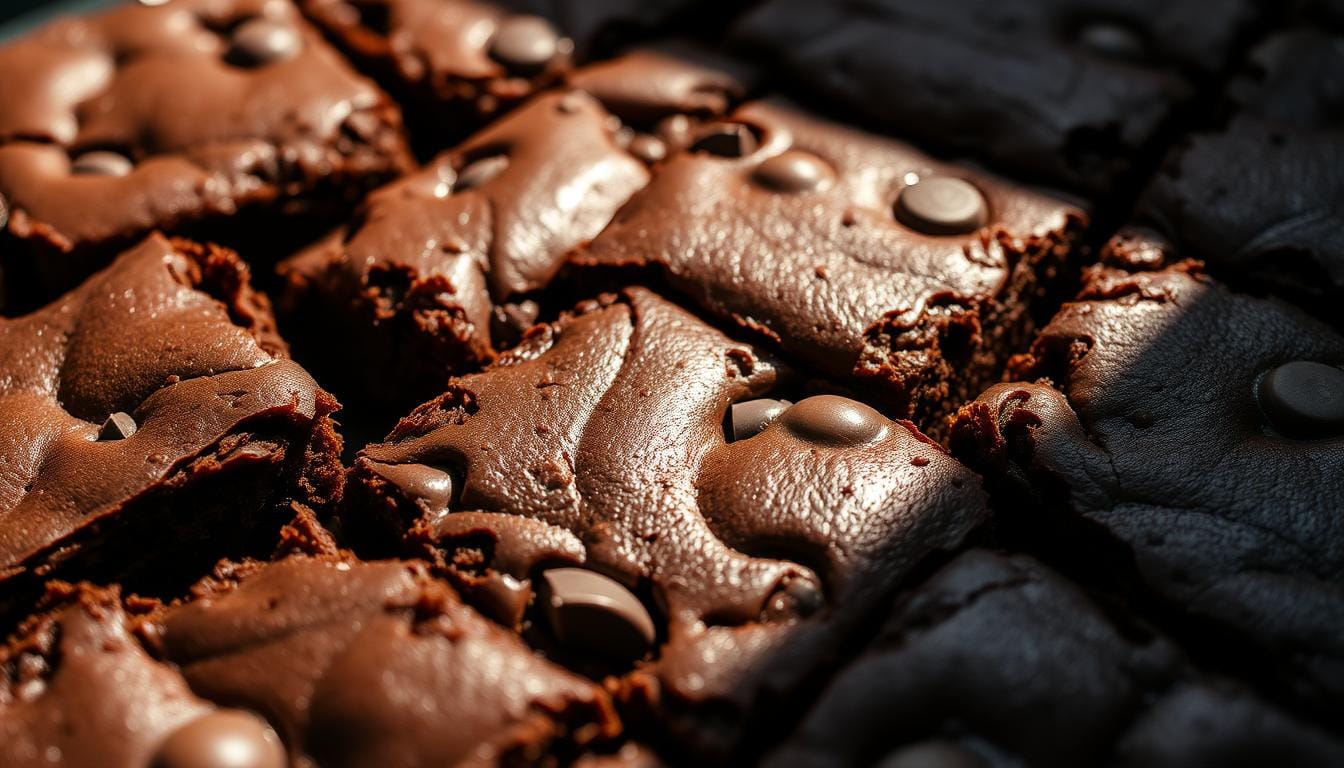
The Secret to Achieving Crackly Brownie Tops
Creating the perfect chocolate desserts is more than just using great ingredients. For homemade brownies, the key is getting that stunning, glossy crackly top. It’s what makes everyone’s mouth water.
Making those perfect brownie tops isn’t magic. It’s science. Knowing a few key techniques can take your baking to the next level. It makes your chocolate desserts go from good to extraordinary.
Temperature Control Tips
Temperature is key for those signature crackly tops. Here are some pro tips:
- Use room temperature eggs for smoother batter integration
- Melt butter and sugar together at a consistent heat
- Avoid overheating ingredients which can impact texture
Sugar and Butter Technique
The way sugar and butter mix is crucial in homemade brownies. Whisking them together thoroughly creates tiny air pockets. These air pockets are what make the surface crackly.
- Beat sugar and butter until light and fluffy
- Use granulated sugar for best results
- Incorporate ingredients gradually
Proper Mixing Methods
Mixing is an art in baking recipes. It’s not just about combining ingredients. Gentle folding and precise technique are key to getting that crackly top.
- Whisk eggs until slightly frothy
- Fold dry ingredients carefully
- Avoid overmixing the batter
Baking Time and Temperature Guidelines
Getting your easy brownie recipe just right means knowing the baking time and temperature. The perfect temperature for making rich, fudgy brownies is 350°F (175°C). This is the magic number for your homemade treats.
Understanding the details of baking can change your chocolate experience. Different pan sizes and oven types can affect your brownie’s texture and doneness. A standard 8×8 inch pan usually needs 25-30 minutes in the oven.
- Standard Baking Temperature: 350°F (175°C)
- Typical Baking Time: 20-30 minutes
- Pan Size Matters: Adjust time as needed
Your oven’s performance is key. Always preheat to ensure even heat. Pro tip: Use an oven thermometer to check the actual temperature. Some ovens might be off a bit.
When baking brownies, look for visual signs. The edges should be set, and the center should still jiggle a bit. Remember, slightly underbaked brownies are better. They’ll cook a bit more after you take them out of the oven.
How to Test for Brownie Doneness
Getting your homemade brownies just right is key. It can be a bit tricky, but with some tips, you’ll get it right every time.
Visual Cues for Perfect Brownies
Look out for these signs to know your brownies are almost there:
- Edges look set and slightly pulled away from the pan
- Surface appears slightly glossy but not wet
- Center looks slightly underbaked but not liquid
The Toothpick Test Method
The toothpick test is the best way to check if your brownies are done. Here’s how to do it:
- Insert a toothpick into the center of the brownies
- Remove the toothpick after 3-5 seconds
- Check the toothpick for moisture
| Toothpick Result | Meaning |
|---|---|
| Clean toothpick | Brownies are likely overbaked |
| A few moist crumbs | Perfect baking consistency |
| Wet batter | Brownies need more baking time |
Keep in mind, your brownies will keep cooking a bit after you take them out of the oven. Take them out when they’re almost done to avoid dryness.
Storage Tips and Shelf Life
Keeping your homemade brownies fresh is key. They can stay delicious and moist if stored right.
How you store them affects how long they last:
- Room Temperature: Keep brownies in an airtight container for 3-4 days
- Refrigeration: Store in sealed container up to one week
- Freezing: Wrap individually and freeze for 2-3 months
Wrap each brownie in plastic wrap or foil to keep them fresh. This stops moisture loss and keeps out fridge smells. When freezing, use a container safe for the freezer to avoid freezer burn.
Reheating frozen brownies is easy. Just thaw them at room temperature for 30 minutes. For a warm taste, heat them in the microwave or oven at a low setting.
Remember: Cool brownies completely before storing. This stops them from getting soggy from condensation.
Nutritional Information and Serving Size
Knowing the nutritional facts of your favorite chocolate treats is important. Our Hershey cocoa brownies are a tasty option that can be part of a healthy diet. Just enjoy them in moderation.
A single brownie is a satisfying treat that won’t ruin your diet. Let’s look at the nutritional details that make these brownies tasty and somewhat healthy.
Caloric Content and Macronutrients
Here’s a detailed nutritional breakdown for a typical 2-inch square brownie:
| Nutrient | Amount |
|---|---|
| Calories | 170 |
| Total Fat | 9g |
| Carbohydrates | 24g |
| Protein | 2g |
Portion Control Guidelines
Managing your chocolate cravings doesn’t mean giving up on tasty treats. Here are some tips for portion control:
- Stick to one 2-inch square serving
- Cut brownies into smaller pieces for controlled intake
- Pair with a glass of milk for balanced nutrition
- Enjoy as an occasional treat, not a daily staple
Pro tip: Use a sharp knife and ruler to ensure consistent brownie sizes for accurate nutritional tracking.
Conclusion
Making the perfect Hershey cocoa brownies is an art. It mixes precision, passion, and practice. This recipe shows that homemade brownies are more than a dessert. They’re a special culinary journey that turns simple ingredients into a rich, decadent treat.
The secret to amazing chocolate desserts is knowing the right techniques. You’ve learned how to pick the best cocoa powder and mix it just right. Each step helps you get that perfect fudgy texture and a crackly top. Now, you can make brownies that are as good as those from a professional bakery.
Baking is both a science and an art. This Hershey cocoa brownies recipe is a great start. But don’t be shy to try new things and make it your own. Whether it’s for a family gathering or just because, these brownies will be a favorite in your kitchen.
Enjoy the fun of baking and let your creativity show in every chocolatey bite. Your brownie-making skills are about to soar!
FAQ
Can I use Dutch-processed cocoa powder instead of Hershey’s unsweetened cocoa?
Dutch-processed cocoa can be used, but it might change the texture and taste. Hershey’s unsweetened cocoa is best for the authentic flavor. If you use Dutch-processed, you might need to adjust the recipe’s leavening agents.
How can I make these brownies gluten-free?
For gluten-free brownies, replace all-purpose flour with a gluten-free blend. Choose a blend with xanthan gum for the right texture. Make sure all ingredients are gluten-free to avoid contamination.
Why do my brownies always turn out dry?
Dry brownies often come from overbaking or too much flour. Measure ingredients carefully and avoid overmixing. Check the brownies a few minutes before the suggested time. The toothpick test should show a few moist crumbs.
Can I add mix-ins like nuts or chocolate chips?
Yes! Add up to 1 cup of mix-ins like nuts, chocolate chips, or dried fruit before baking. Don’t overmix and lightly flour the mix-ins to prevent sinking.
How long can I store these brownies?
Store them in an airtight container at room temperature for 3-4 days. For longer, refrigerate for up to a week or freeze for 3 months. Wrap each brownie in plastic wrap and foil for freezing.
Can I make these brownies ahead of time?
Yes! Prepare the batter up to 24 hours before baking. Or bake and store as mentioned. They taste better after a day.
What’s the best way to get clean, neat brownie cuts?
Cool the brownies completely for clean cuts. Use a sharp knife and wipe it between cuts. Chill the brownies for 30 minutes before cutting. A plastic knife or scraper can prevent sticking.
Can I make these brownies without eggs?
For an egg-free version, use mashed banana, applesauce, or egg replacers. Eggs are key for texture, so the result might differ. Use 1/4 cup of mashed banana or applesauce per egg.