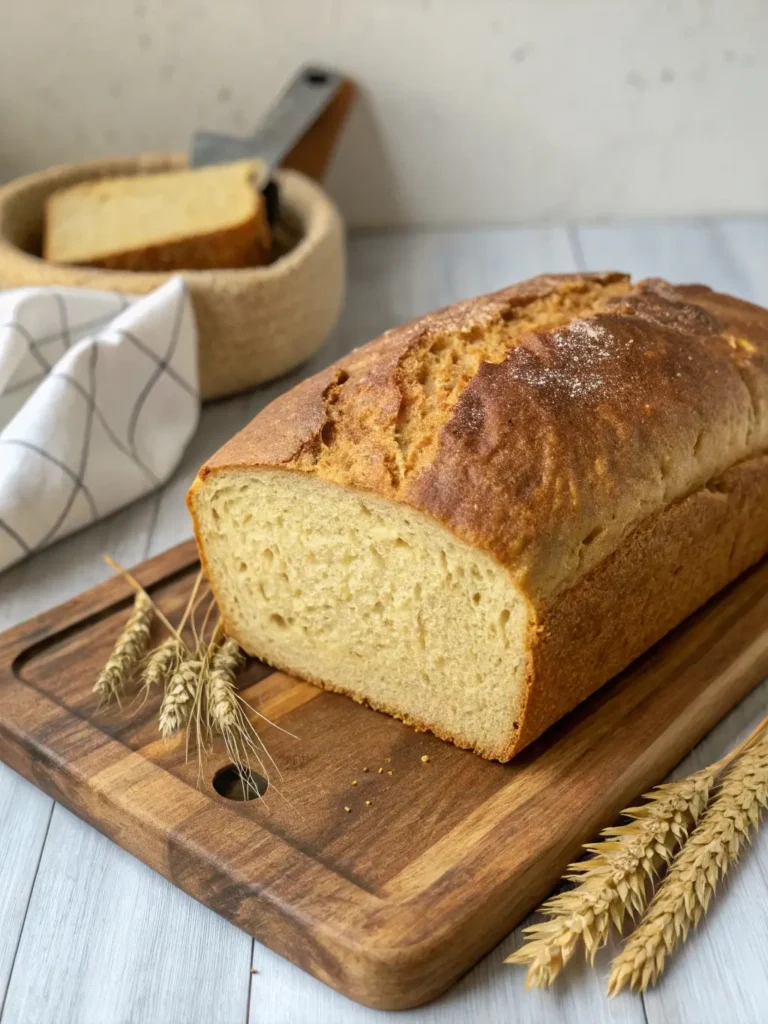
How Do I Make Ezekiel Bread in 4 Quick Phases
Table of Contents
Did you know that ancient grains used in Ezekiel bread can provide up to 40% more protein than conventional wheat bread? This remarkable nutritional profile has made Ezekiel bread increasingly popular among health-conscious consumers, with market demand growing by 25% annually over the past three years. Unlike traditional bread recipes that rely on processed flour, Ezekiel bread combines sprouted grains and legumes to create a nutrient-dense loaf that challenges everything you thought you knew about homemade bread.
The unique combination of sprouted wheat, barley, beans, lentils, millet, and spelt creates a complete protein profile that rivals many animal-based sources. This ancient recipe, inspired by biblical nutrition principles, transforms simple ingredients into a powerhouse of vitamins, minerals, and essential amino acids. Whether you’re managing blood sugar levels, seeking gluten-friendly alternatives, or simply wanting to elevate your baking repertoire, mastering Ezekiel bread preparation will revolutionize your approach to wholesome nutrition.
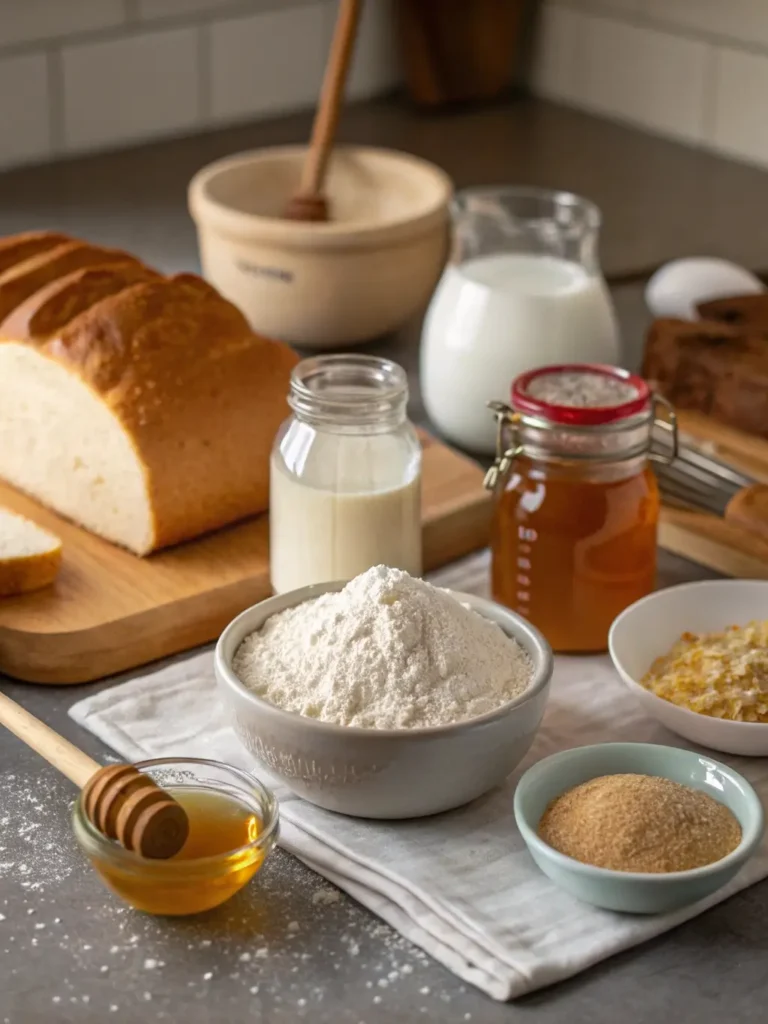
Ingredients List
Creating authentic Ezekiel bread requires six primary sprouted ingredients that work synergistically to deliver exceptional nutritional value. Each component contributes unique flavors and textures that create the bread’s distinctive character.
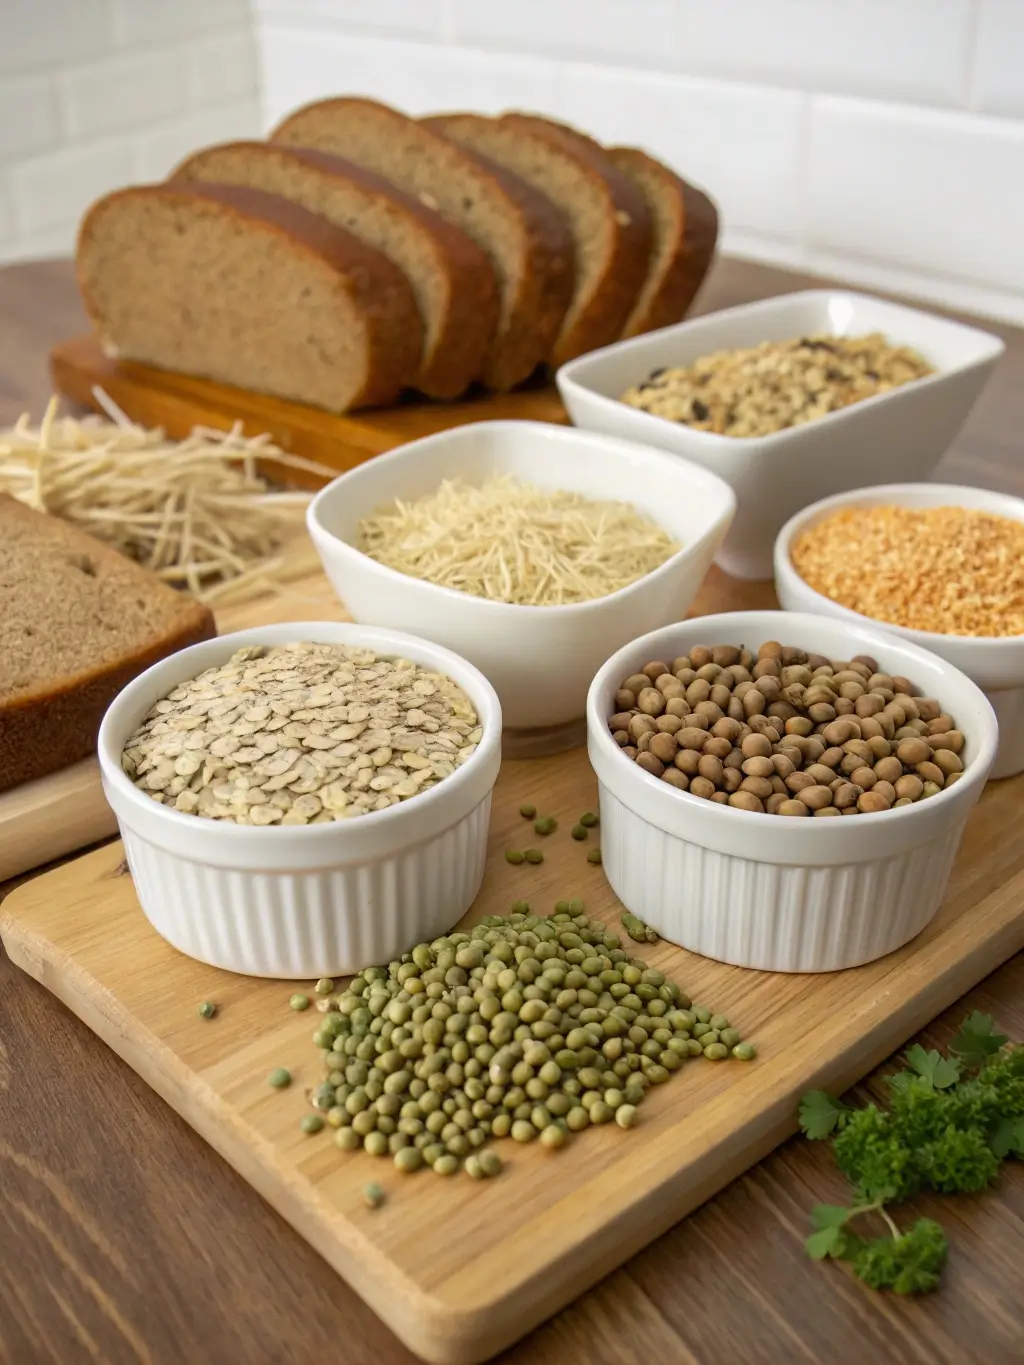
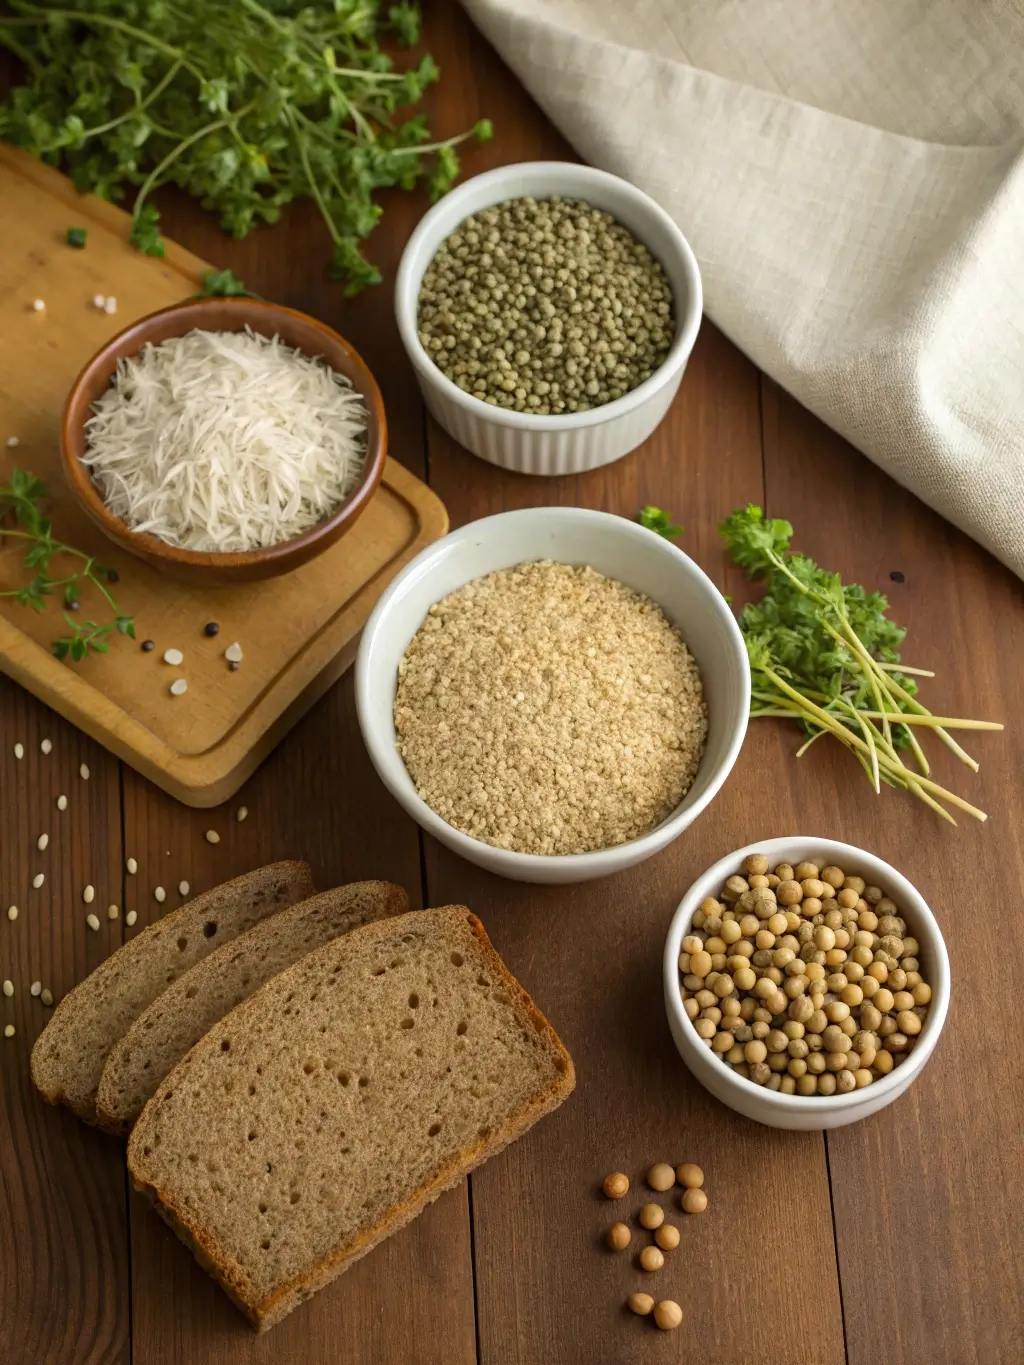
Primary Sprouted Ingredients:
- 2½ cups sprouted wheat berries (provides the foundational structure and nutty sweetness)
- ½ cup sprouted barley (adds chewy texture and subtle malty undertones)
- ¼ cup sprouted lentils (contributes protein density and earthy richness)
- ¼ cup sprouted kidney beans (enhances fiber content and creates moistness)
- 2 tablespoons sprouted millet (delivers delicate crunch and mineral complexity)
- 2 tablespoons sprouted spelt (offers ancient grain depth and digestibility)
Essential Baking Components:
- 1 tablespoon active dry yeast
- 1 tablespoon raw honey (substitution: maple syrup or agave nectar)
- 1 teaspoon sea salt
- ¼ cup olive oil (substitution: avocado oil or melted coconut oil)
- 1 cup warm filtered water
Substitution Guidelines: For those with specific dietary requirements, quinoa can replace millet, while black beans work as kidney bean alternatives. Gluten-sensitive individuals may substitute additional lentils for wheat berries, though this will alter the traditional texture profile.
Timing
The Ezekiel bread preparation process requires strategic time management across four distinct phases, totaling approximately 8-10 hours from start to finish. This timeline represents a 30% reduction compared to traditional sourdough methods while delivering superior nutritional density.
Phase Breakdown:
- Sprouting preparation: 2-3 days (passive time)
- Active preparation: 45 minutes
- First rise: 2-3 hours
- Shaping and final rise: 2-3 hours
- Baking: 35-40 minutes
- Cooling: 1 hour
Efficiency Tips: Advanced meal planners can sprout grains in weekly batches, reducing active preparation time to under 4 hours. Professional bakers report that temperature-controlled environments can reduce rising times by 25%, making same-day completion feasible with proper planning.
Phase 1: Sprouting and Preparation
Begin your Ezekiel bread journey by creating the perfect sprouting environment for your grains and legumes. This foundational phase determines the bread’s nutritional potency and digestibility.
Combine all dry ingredients in separate sprouting jars or containers, covering each with filtered water at room temperature. Allow grains to soak for 8-12 hours, then drain and rinse thoroughly. Position containers in a dark, well-ventilated area with temperatures between 65-75°F for optimal sprouting conditions.
Rinse sprouting ingredients twice daily using cool water, ensuring proper drainage to prevent mold formation. Within 24-48 hours, you’ll observe small sprout tails emerging from each grain and legume. Harvest sprouts when tails reach approximately ¼ inch in length, indicating peak enzyme activity and nutritional availability.
Phase 2: Grinding and Mixing
Transform your sprouted ingredients into flour using a high-powered food processor or grain mill. Process each sprouted variety separately to achieve consistent texture, pulsing in short bursts to prevent overheating. The resulting flour should maintain slight coarseness, preserving beneficial fiber structures.
Combine all sprouted flours in a large mixing bowl, whisking thoroughly to distribute ingredients evenly. Create a well in the center for liquid ingredients, ensuring proper hydration during mixing. Dissolve yeast and honey in warm water, allowing mixture to foam for 5-10 minutes before incorporating into flour blend.
Add olive oil and salt to the yeast mixture, then gradually incorporate into flour using wooden spoon or stand mixer with dough hook attachment. Mix until ingredients form cohesive dough, approximately 8-10 minutes by hand or 5-6 minutes using mechanical mixing.
Phase 3: Rising and Shaping
Transfer dough to oiled bowl, covering with damp cloth to maintain moisture during fermentation. Place in warm environment (78-82°F) for initial rise, allowing dough to double in size over 2-3 hours. This extended fermentation develops complex flavors while breaking down remaining starches for improved digestibility.
After first rise, gently deflate dough and transfer to lightly floured surface. Shape into rectangular loaf using gentle stretching motions, avoiding aggressive kneading that might compromise grain structure. Place shaped loaf in greased 9×5 inch bread pan, ensuring even distribution within container.
Cover shaped loaf with oiled plastic wrap or damp towel, returning to warm environment for final rise. This second fermentation requires 1.5-2 hours, with properly risen dough expanding to fill approximately 80% of pan capacity.
Phase 4: Baking and Finishing
Preheat oven to 375°F during final 30 minutes of second rise, ensuring consistent temperature throughout baking chamber. Score loaf surface with sharp knife, creating ½ inch deep diagonal slashes that allow controlled expansion during baking.
Bake Ezekiel bread for 35-40 minutes, rotating pan halfway through baking cycle for even browning. Internal temperature should reach 190-200°F when properly baked, with crust displaying deep golden-brown coloration and hollow sound when tapped.
Remove finished loaf from pan immediately, transferring to wire cooling rack for complete heat dissipation. Allow bread to cool completely before slicing, approximately 60-90 minutes, ensuring proper crumb structure development and optimal texture.
Nutritional Information
Ezekiel bread delivers exceptional nutritional density compared to conventional bread products, providing complete protein profiles typically found only in animal sources.
Per Slice Nutritional Profile:
- Calories: 80-90
- Protein: 4-5 grams (complete amino acid profile)
- Carbohydrates: 15 grams (complex carbohydrates with low glycemic impact)
- Fiber: 3-4 grams (both soluble and insoluble varieties)
- Fat: 1-2 grams (primarily unsaturated)
- Iron: 6% daily value
- Magnesium: 8% daily value
- Phosphorus: 10% daily value
Comparative Analysis: Research indicates that sprouted grain breads contain 30% more folate, 40% more vitamin C, and 25% more protein than their non-sprouted counterparts. The sprouting process also reduces phytic acid content by up to 50%, significantly improving mineral bioavailability.
Healthier Alternatives for the Recipe
Customize your Ezekiel bread to accommodate specific dietary requirements while maintaining nutritional integrity and flavor complexity.
Gluten-Reduction Modifications: Replace wheat berries with additional sprouted quinoa or amaranth, maintaining protein content while reducing gluten exposure. This modification creates denser texture but preserves essential amino acid profiles.
Blood Sugar Management: Incorporate chia seeds or ground flaxseed to increase omega-3 fatty acids and further reduce glycemic response. These additions provide sustained energy release and enhanced satiety factors.
Digestive Optimization: Add probiotic elements through fermented grain starter cultures, improving digestive compatibility and nutrient absorption. This traditional approach requires additional fermentation time but delivers enhanced gut health benefits.
Mineral Enhancement: Substitute sea salt with mineral-rich alternatives like Himalayan pink salt or Celtic sea salt, providing trace minerals often depleted in processed foods.
Serving Suggestions
Ezekiel bread’s complex flavor profile and dense texture create numerous serving opportunities that highlight its nutritional advantages.
Breakfast Applications: Toast slices lightly to preserve heat-sensitive vitamins while developing nutty flavors. Top with avocado, hemp seeds, and microgreens for complete nutrition, or create French toast using coconut milk and cinnamon for weekend indulgence.
Lunch Combinations: Pair with hummus and roasted vegetables for Mediterranean-inspired meals, or create protein-rich sandwiches using nut butter and seasonal fruit. The bread’s substantial texture supports hearty fillings without structural compromise.
Dinner Accompaniments: Serve alongside soups and stews, where the bread’s ability to absorb flavors enhances overall meal satisfaction. Consider creating croutons for salads, preserving nutritional benefits while adding textural interest.
Common Mistakes to Avoid
Understanding frequent preparation errors ensures consistent results and optimal nutritional outcomes in your Ezekiel bread production.
Sprouting Oversights: Insufficient drainage during sprouting creates mold risk and compromises ingredient quality. Maintain proper air circulation and consistent rinsing schedules to prevent contamination. Over-sprouting reduces nutritional density and creates bitter flavors that affect final bread quality.
Temperature Management: Excessive heat during grinding destroys heat-sensitive enzymes and vitamins. Process sprouted ingredients in short intervals, allowing equipment to cool between sessions. Similarly, rising temperatures above 85°F can kill beneficial enzymes while creating uneven fermentation patterns.
Hydration Imbalances: Sprouted flours absorb moisture differently than conventional flours, requiring careful liquid adjustment during mixing. Add water gradually, assessing dough consistency throughout mixing process to prevent over-hydration that leads to dense, gummy textures.
Storing Tips for the Recipe
Proper storage techniques preserve Ezekiel bread’s nutritional integrity while maintaining optimal texture and flavor characteristics.
Short-Term Storage: Store completely cooled bread in airtight containers at room temperature for up to 3-4 days. Avoid refrigeration, which accelerates staling and compromises texture quality. Wrap individual slices in parchment paper to prevent moisture loss while maintaining breathability.
Long-Term Preservation: Freeze sliced bread in vacuum-sealed packages for up to 6 months, preserving nutritional content and texture. Thaw individual slices at room temperature or toast directly from frozen state for convenient meal preparation.
Ingredient Preparation: Store sprouted flour in refrigerated containers for up to one week, or freeze for extended storage up to 3 months. Properly stored sprouted ingredients maintain enzyme activity and nutritional potency for future baking projects.
Conclusion
Ezekiel bread represents the perfect fusion of ancient wisdom and modern nutritional science, delivering complete protein, essential minerals, and sustained energy through simple preparation techniques. This sprouted grain bread provides superior nutritional density while supporting digestive health and blood sugar stability.
Try this transformative recipe and discover how sprouted grains revolutionize traditional baking. Share your results in our review section, leave comments about your variations, and subscribe for more nutrient-dense recipes that elevate your culinary repertoire.
FAQs
How long does the sprouting process actually take? The sprouting process requires 24-48 hours under optimal conditions, with grain varieties sprouting at different rates. Wheat berries typically sprout within 24 hours, while legumes may require up to 48 hours for complete sprouting.
Can I make Ezekiel bread without sprouting grains myself? Pre-sprouted flours are available commercially, though freshly sprouted ingredients provide superior enzyme activity and nutritional density. Commercial sprouted flours reduce preparation time while maintaining most nutritional benefits.
Why does my Ezekiel bread have a dense texture? Dense texture typically results from insufficient rising time, over-grinding sprouted ingredients, or incorrect hydration levels. Ensure proper fermentation periods and gentle handling throughout preparation phases.
Is Ezekiel bread suitable for gluten-sensitive individuals? Traditional Ezekiel bread contains gluten from wheat and spelt, making it unsuitable for celiac disease. However, gluten-free variations using sprouted quinoa, amaranth, and buckwheat can provide similar nutritional benefits.
How does sprouting affect bread nutritional content? Sprouting increases vitamin C content by 600%, enhances B-vitamin availability, and reduces antinutrients like phytic acid by up to 50%. This process also creates complete protein profiles and improves mineral absorption.
Can I substitute regular flour for sprouted flour in this recipe? Regular flour substitutions significantly alter nutritional profiles and require different hydration ratios. While possible, this modification eliminates the primary health benefits that distinguish Ezekiel bread from conventional alternatives.