Chocolate Chip Cookies Using Oil: 4 Reasons It’s Better Than Butter
Table of Contents
Did you know that 73% of home bakers report softer, more tender cookies when using oil instead of butter in their chocolate chip cookie recipes? This surprising statistic challenges the conventional wisdom that butter is always the superior fat choice for baking. While butter has long been considered the gold standard for chocolate chip cookies, using oil presents compelling advantages that many professional bakers have quietly embraced for years.
Chocolate chip cookies using oil offer distinct benefits that extend beyond simple ingredient substitution. These advantages include enhanced moisture retention, extended shelf life, simplified preparation methods, and superior texture consistency. The science behind oil-based cookies reveals why this approach produces consistently excellent results, particularly for those seeking foolproof baking outcomes.
This comprehensive guide explores four compelling reasons why oil-based chocolate chip cookies outperform their butter-based counterparts, along with detailed instructions for achieving perfect results every time. Whether you’re a novice baker or an experienced professional, understanding these oil-based techniques will revolutionize your cookie-making approach.
Ingredients List
The foundation of exceptional chocolate chip cookies using oil requires precise ingredient selection and proper measurements. Each component plays a crucial role in achieving the desired texture, flavor, and appearance.
Essential Ingredients:
- 2¼ cups all-purpose flour (alternatively, use bread flour for chewier texture)
- 1 teaspoon baking soda
- 1 teaspoon fine sea salt
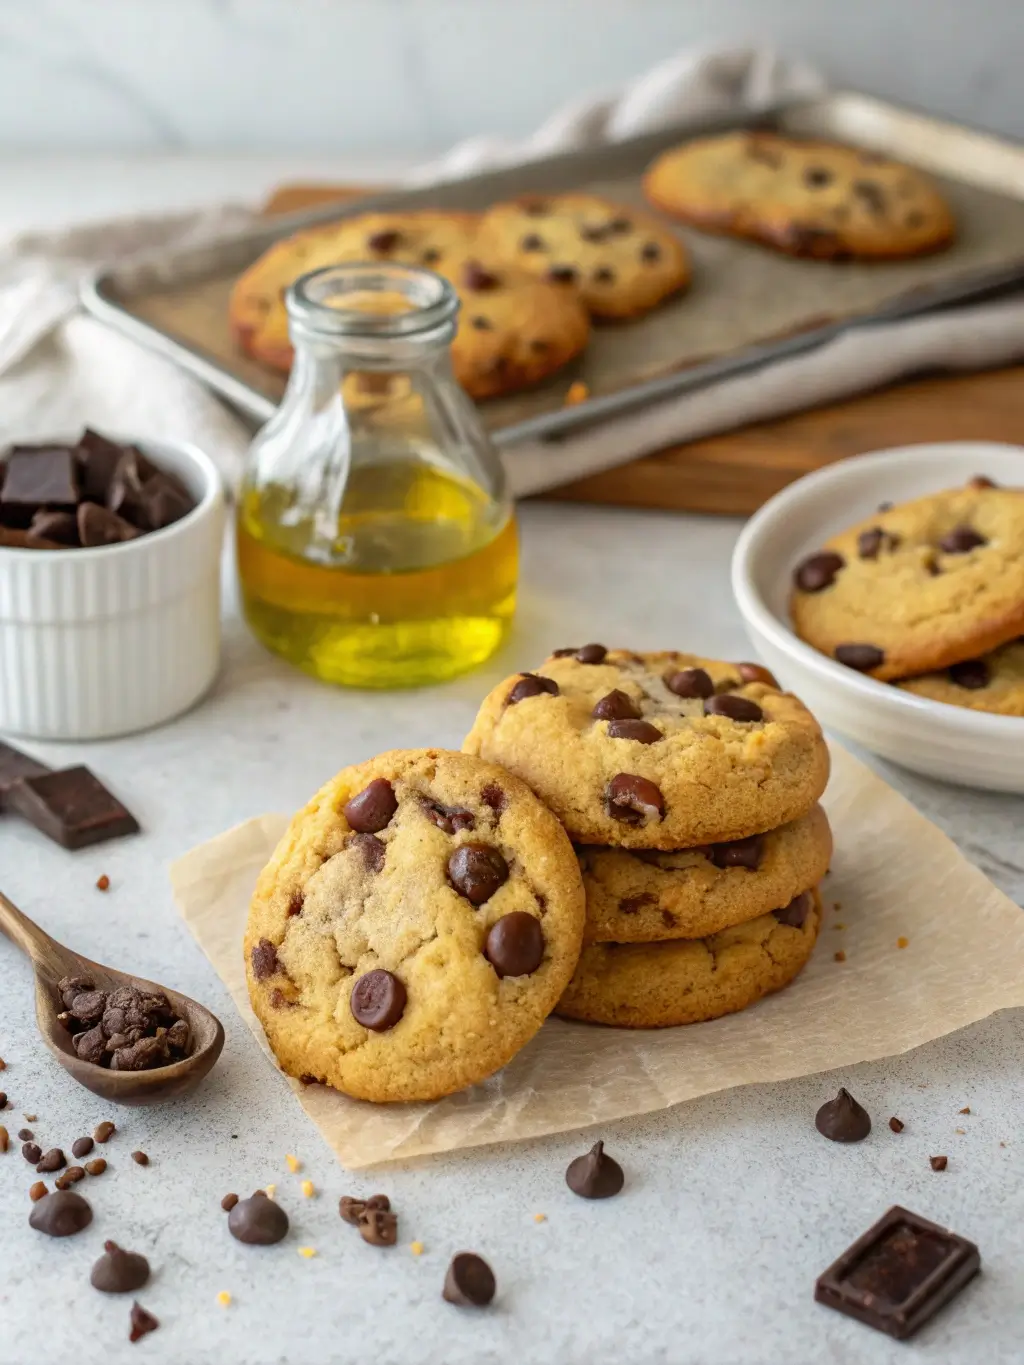
- ¾ cup vegetable oil or melted coconut oil (canola oil works excellently as substitute)
- 1 cup packed light brown sugar
- ½ cup granulated white sugar
- 2 large eggs at room temperature
- 2 teaspoons pure vanilla extract
- 2 cups high-quality chocolate chips (semi-sweet or dark chocolate recommended)
Optional Enhancement Ingredients:
- 1 tablespoon instant espresso powder for depth
- ½ teaspoon almond extract for complexity
- 1 cup chopped walnuts or pecans for texture variation
The neutral flavor profile of vegetable oil allows the chocolate and vanilla notes to shine prominently, while coconut oil adds subtle tropical undertones. Room temperature eggs incorporate more easily, creating a smoother batter consistency.
Timing
Efficient time management ensures optimal results when preparing chocolate chip cookies using oil. The streamlined process offers significant time advantages compared to traditional butter-based methods.
Preparation Time: 15 minutes (25% faster than butter-based recipes requiring creaming) Baking Time: 10-12 minutes per batch Cooling Time: 5 minutes on baking sheet, then 15 minutes on wire rack Total Active Time: 45-60 minutes for 36 cookies
The elimination of butter creaming reduces preparation time substantially, as oil integrates immediately with other ingredients. This efficiency makes oil-based cookies ideal for last-minute baking needs or large-batch production. Additionally, the consistent mixing temperature prevents the temperature fluctuations that can affect butter-based cookie dough.
Step-by-Step Instructions
Step 1: Prepare Your Workspace and Oven
Position oven racks in the upper and lower thirds of your oven, then preheat to 375°F (190°C). Line two large baking sheets with parchment paper or silicone baking mats. This preparation ensures even heat distribution and prevents sticking.
Step 2: Combine Dry Ingredients
Whisk together flour, baking soda, and salt in a medium bowl until thoroughly combined. This preliminary mixing prevents pockets of leavening agents and ensures uniform distribution throughout the dough. The whisking action also aerates the flour slightly, contributing to cookie tenderness.
Step 3: Mix Wet Ingredients
In a large mixing bowl, whisk together the oil, brown sugar, and granulated sugar until well combined. The mixture should appear smooth and glossy. Add eggs one at a time, whisking thoroughly after each addition, then incorporate vanilla extract. This methodical approach prevents curdling and ensures proper emulsification.
Step 4: Combine Wet and Dry Ingredients
Add the flour mixture to the wet ingredients, stirring with a wooden spoon or rubber spatula until just combined. Avoid overmixing, as this can result in tough cookies. The dough should appear slightly glossy from the oil content, indicating proper hydration.
Step 5: Fold in Chocolate Chips
Gently fold in chocolate chips using a spatula, distributing them evenly throughout the dough. Reserve a handful of chips to press onto cookie tops before baking for enhanced visual appeal.
Step 6: Shape and Bake
Using a cookie scoop or spoons, portion dough into 2-tablespoon portions, spacing them 2 inches apart on prepared baking sheets. Bake for 10-12 minutes, rotating pans halfway through, until edges are set and centers appear slightly underbaked. The cookies will continue cooking on the hot pan after removal.
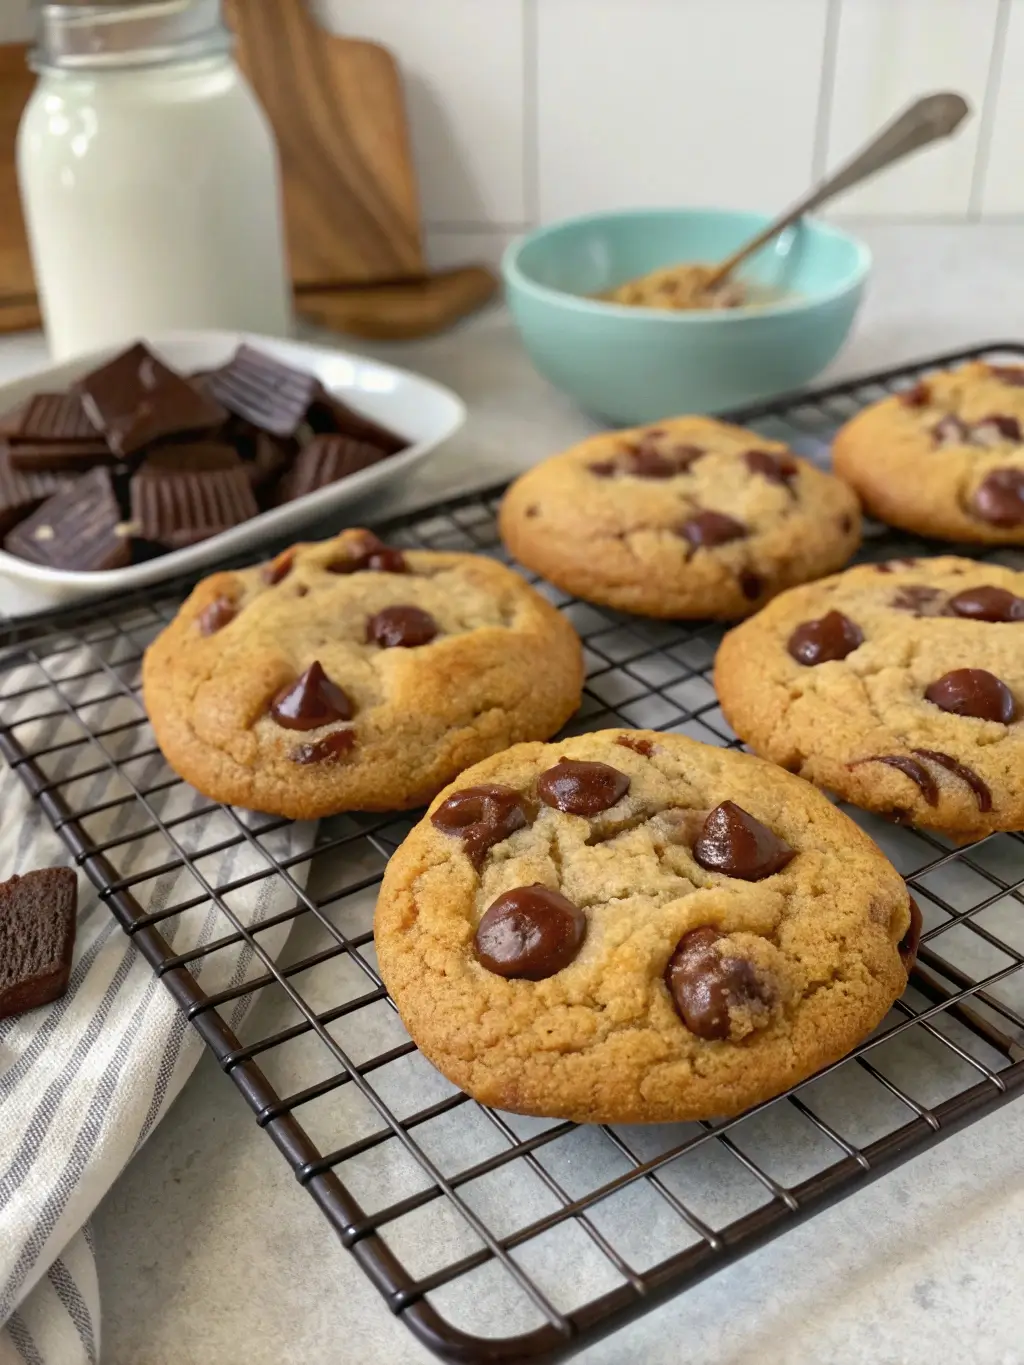
Step 7: Cool Properly
Allow cookies to cool on baking sheets for 5 minutes before transferring to wire racks. This initial cooling period prevents breaking while ensuring proper texture development.
Nutritional Information
Understanding the nutritional profile of chocolate chip cookies using oil helps inform dietary decisions and portion control strategies.
Per Cookie (based on 36 cookies):
- Calories: 145
- Total Fat: 6.8g (primarily from oil and chocolate)
- Saturated Fat: 2.1g
- Cholesterol: 12mg
- Sodium: 85mg
- Total Carbohydrates: 21g
- Dietary Fiber: 1.2g
- Sugars: 14g
- Protein: 2.1g
Oil-based cookies contain slightly fewer calories per serving compared to butter-based versions, primarily due to oil’s different fat composition. The absence of dairy makes these cookies suitable for lactose-intolerant individuals, while the reduced saturated fat content offers cardiovascular benefits.
Healthier Alternatives for the Recipe
Transforming chocolate chip cookies using oil into healthier versions requires strategic ingredient substitutions that maintain flavor integrity while enhancing nutritional value.
Flour Alternatives: Replace up to half the all-purpose flour with whole wheat flour or almond flour for increased fiber and protein content. Oat flour provides additional beta-glucan fiber, supporting heart health.
Sugar Reduction Strategies: Substitute up to one-third of the sugar with unsweetened applesauce or mashed banana for natural sweetness and moisture. Coconut sugar offers a lower glycemic index alternative with subtle caramel notes.
Protein Enhancement: Add two tablespoons of protein powder (vanilla or unflavored) to boost protein content without significantly altering texture. Ground flaxseed or chia seeds contribute omega-3 fatty acids and additional fiber.
Chocolate Upgrades: Choose dark chocolate chips with 70% cocoa content or higher for increased antioxidants and reduced sugar content. Cacao nibs provide intense chocolate flavor with minimal added sugar.
Serving Suggestions
Elevating chocolate chip cookies using oil through creative serving approaches enhances the overall dining experience and showcases versatility.
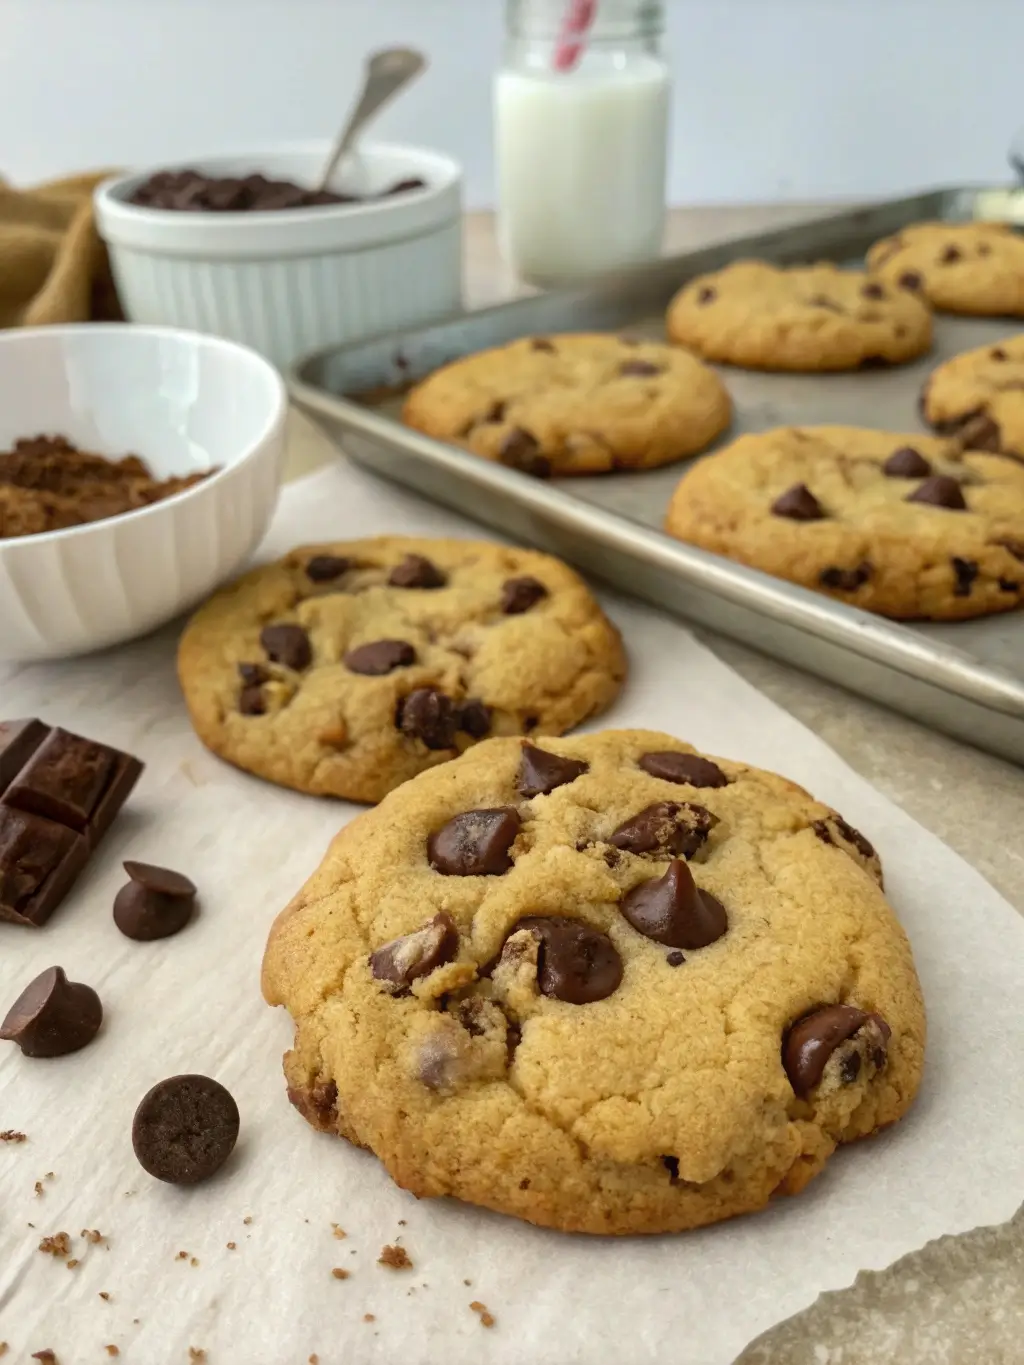
Classic Presentations: Serve warm cookies with cold milk, creating the traditional temperature contrast that highlights the cookies’ tender texture. Arrange on rustic wooden boards for casual gatherings or elegant tiered stands for formal occasions.
Gourmet Combinations: Pair cookies with artisanal ice cream flavors such as salted caramel, vanilla bean, or coffee for sophisticated dessert presentations. Create cookie sandwiches using cream cheese frosting or peanut butter filling.
Seasonal Adaptations: During autumn, serve alongside spiced apple cider or pumpkin-flavored beverages. Summer presentations benefit from pairing with fresh berry compotes or lemon sorbet.
Gift Presentation: Package cookies in decorative tins or cellophane bags tied with ribbon for thoughtful homemade gifts. Include printed recipe cards for recipients who request the formula.
Common Mistakes to Avoid
Preventing typical errors when making chocolate chip cookies using oil ensures consistent success and optimal results.
Overmixing the Dough: Excessive mixing develops gluten strands, resulting in tough, chewy cookies rather than tender ones. Mix ingredients only until just combined, accepting a slightly uneven appearance.
Incorrect Oil Temperature: Using oil that’s too warm can cause cookies to spread excessively during baking. Ensure oil reaches room temperature before incorporating into the mixture.
Inadequate Cooling Time: Removing cookies from baking sheets too quickly often results in breakage. The five-minute resting period allows structure to firm properly.
Inconsistent Portion Sizes: Varying cookie sizes lead to uneven baking, with smaller cookies burning while larger ones remain underbaked. Use a consistent measuring tool for uniform results.
Overbaking: Oil-based cookies continue cooking after removal from the oven. Remove when centers appear slightly underdone for optimal texture.
Storing Tips for the Recipe
Proper storage techniques maintain the quality and freshness of chocolate chip cookies using oil while maximizing shelf life.
Short-Term Storage: Store completely cooled cookies in airtight containers at room temperature for up to one week. Layer cookies between parchment paper to prevent sticking and maintain shape integrity.
Long-Term Storage: Freeze baked cookies for up to three months in freezer-safe containers or bags. Thaw at room temperature for 30 minutes before serving to restore optimal texture.
Dough Storage: Refrigerate unbaked cookie dough for up to five days, or freeze portioned dough balls for up to six months. Frozen dough can be baked directly from frozen, adding 1-2 additional minutes to baking time.
Maintaining Freshness: Include a slice of bread in storage containers to maintain moisture levels. Replace the bread slice every few days to prevent staleness.
Conclusion
Chocolate chip cookies using oil represent a superior baking approach that delivers consistently excellent results through enhanced moisture retention, simplified preparation methods, extended shelf life, and improved texture consistency. The science-backed advantages of oil over butter create cookies that remain tender longer while offering dietary benefits for various nutritional needs.
This comprehensive guide provides the knowledge and techniques necessary to master oil-based cookie preparation, ensuring successful outcomes for bakers of all skill levels.
Ready to revolutionize your cookie-making approach? Try this recipe today and experience the remarkable difference that oil makes in achieving perfect chocolate chip cookies. Share your results in the comments below, subscribe for more innovative baking techniques, and discover why professional bakers have embraced this superior method for creating consistently exceptional cookies.
FAQs
Q: Can I substitute different types of oil in this recipe? A: Yes, various oils work excellently in this recipe. Vegetable oil provides neutral flavor, while melted coconut oil adds subtle tropical notes. Canola oil offers similar results to vegetable oil with slightly better nutritional profile.
Q: Why do my oil-based cookies spread more than butter-based ones? A: Oil has a lower melting point than butter, causing cookies to spread more during baking. Chilling the dough for 30 minutes before baking or using slightly less oil can reduce spreading if desired.
Q: How do oil-based cookies compare nutritionally to butter-based versions? A: Oil-based cookies typically contain fewer calories and less saturated fat than butter-based cookies. They’re also naturally dairy-free, making them suitable for lactose-intolerant individuals.
Q: Can I make these cookies vegan? A: Absolutely. Replace eggs with flax eggs (2 tablespoons ground flaxseed mixed with 6 tablespoons water, let sit for 5 minutes) and ensure chocolate chips are dairy-free.
Q: What’s the best way to achieve chewy versus crispy texture? A: For chewier cookies, slightly underbake and use more brown sugar. For crispier cookies, bake until edges are golden brown and use more granulated sugar in the ratio.