Perfect Red Velvet Brownies: A Decadent Homemade Recipe
Table of Contents
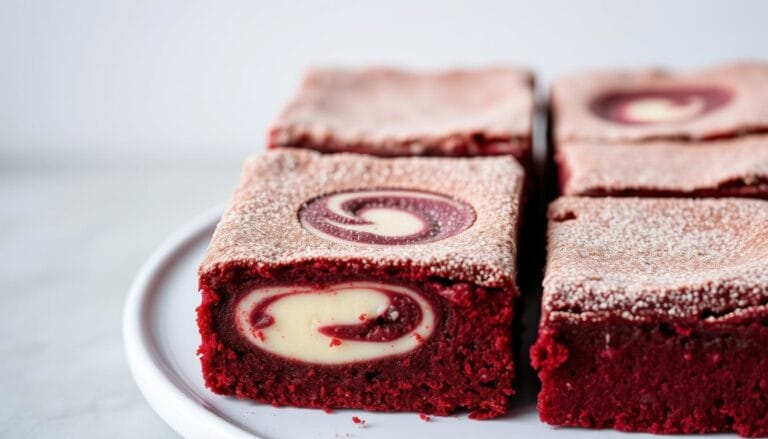
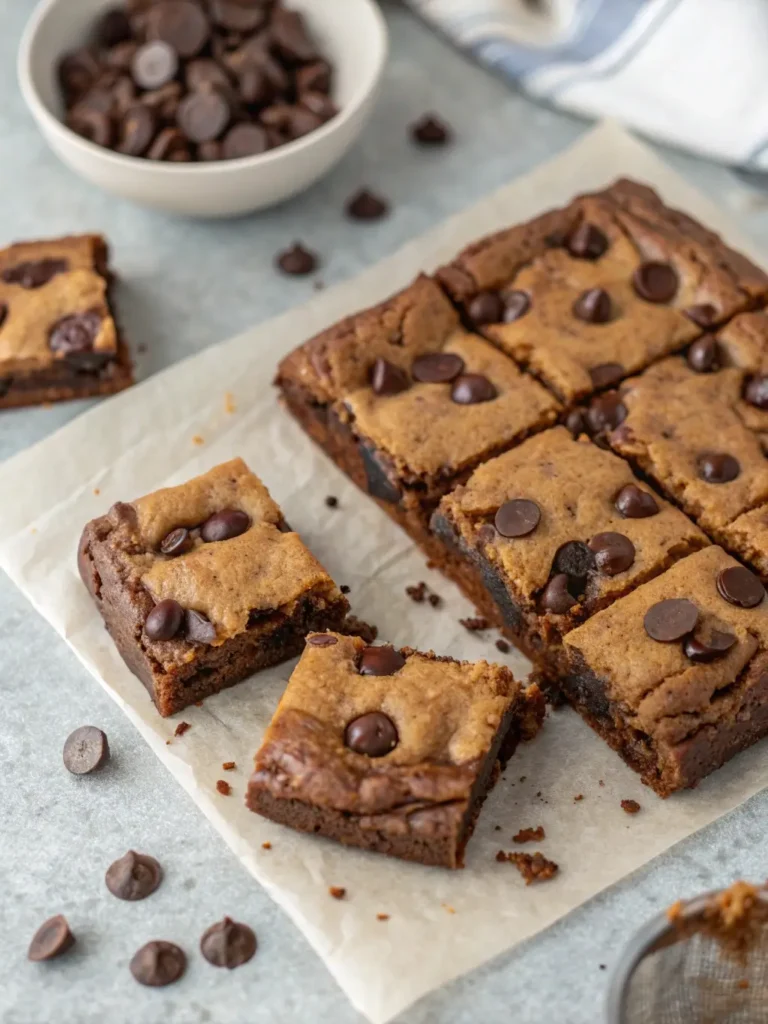
Imagine sinking your fork into a rich, velvety brownie. It combines the deep crimson allure of red velvet with the irresistible fudgy texture of classic brownies. Your journey to creating the ultimate homemade red velvet brownies starts right here. These aren’t just any ordinary dessert – they’re a culinary experience that bridges comfort and elegance in every single bite.
Red velvet brownies represent more than just a sweet treat. They’re a celebration of flavor, texture, and the kind of baking magic that transforms simple ingredients into something extraordinary. Whether you’re a seasoned baker or a kitchen novice, this red velvet brownies recipe will guide you to creating a dessert that’s sure to impress.
What makes these homemade red velvet brownies special is their unique blend of subtle cocoa flavor, vibrant color, and incredibly smooth texture. They’re not just brownies – they’re a decadent experience that connects us to the rich culinary traditions of Southern baking and modern dessert innovation.
Key Takeaways
- Red velvet brownies offer a unique twist on traditional chocolate desserts
- The recipe combines rich flavor with stunning visual appeal
- Perfect for both experienced bakers and kitchen beginners
- Ideal for special occasions or everyday indulgence
- Combines the best elements of red velvet cake and classic brownies
Understanding Red Velvet Brownies: More Than Just Red-Colored Chocolate
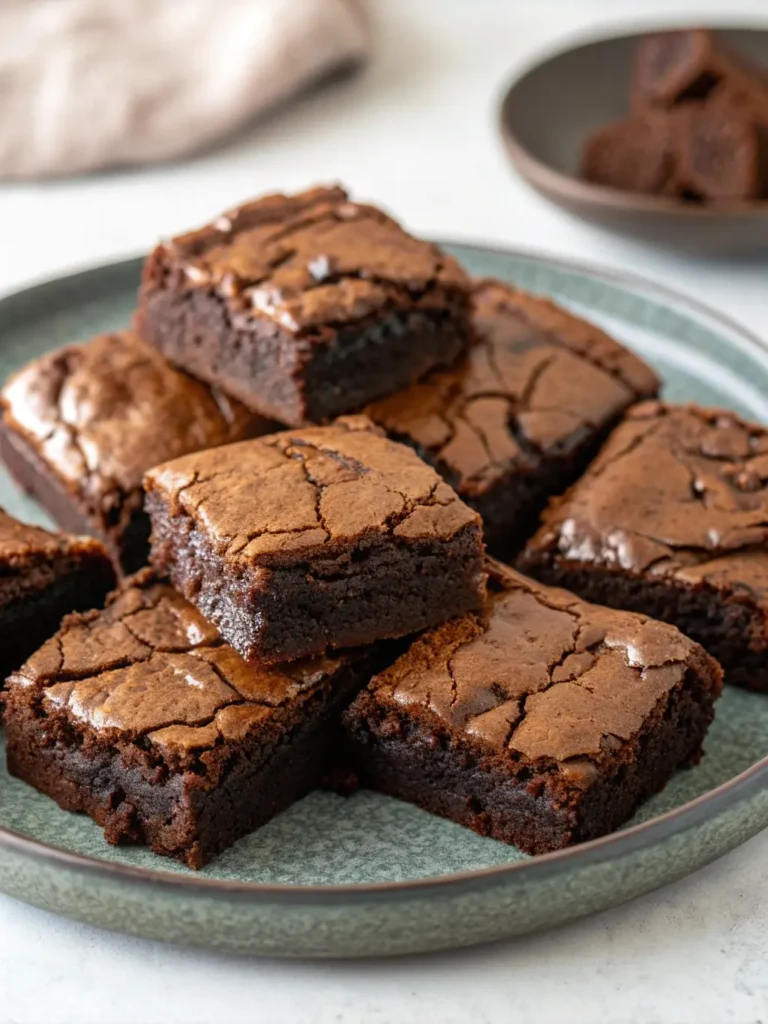
Red velvet brownies are a delightful twist on traditional chocolate desserts. They bring something special to your baking. These brownies have a unique flavor that makes them stand out from ordinary chocolate treats.

Exploring red velvet brownies ingredients reveals a fascinating culinary art. It’s more than just red-colored chocolate. The classic red velvet flavor is a mix of subtle cocoa, tangy undertones, and sweetness. This creates an unforgettable taste experience.
The Classic Red Velvet Flavor Profile
Red velvet’s distinctive taste comes from a balanced mix of ingredients:
- Mild cocoa powder
- Buttermilk or vinegar for tanginess
- A touch of vanilla extract
- A small amount of red food coloring
What Makes Red Velvet Different from Regular Chocolate
Unlike standard chocolate brownies, red velvet brownies have a lighter, more nuanced flavor. The addition of buttermilk or vinegar adds a subtle tanginess. This sets them apart from traditional chocolate desserts.
History and Evolution of Red Velvet Desserts
The origins of red velvet date back to the Victorian era. Bakers found that cocoa powder reacted with acidic ingredients to create a reddish hue. Today, red velvet brownies use food coloring for their bright color. They still keep the classic flavor that has made this dessert a favorite.
Red velvet isn’t just a color—it’s a culinary experience that transforms ordinary brownies into something extraordinary.
Essential Ingredients for the Perfect Red Velvet Brownies Recipe
To make the best red velvet brownies, start with top-notch ingredients. Your mix needs a mix of ingredients that work together. This mix creates a rich, decadent dessert.
Choosing the right ingredients is key for amazing red velvet brownies. Each part is important for the flavor and texture. These are what make the brownies so tempting.
Key Dry Ingredients
- All-purpose flour
- High-quality cocoa powder
- Granulated sugar
- Baking powder
- Salt
Wet Ingredients
- Large eggs
- Unsalted butter
- Vegetable oil
- Vanilla extract
- Red food coloring
Getting the right measurements is crucial for the perfect texture. Cocoa powder selection is very important. Choose Dutch-processed cocoa for a deeper, richer chocolate taste.
| Ingredient Category | Purpose in Recipe | Recommended Type |
|---|---|---|
| Cocoa Powder | Flavor and Color | Dutch-processed, unsweetened |
| Food Coloring | Signature Red Hue | Gel-based red food coloring |
| Butter | Richness and Moisture | Unsalted, room temperature |
For the best red velvet brownies, focus on quality ingredients. Fresh eggs, premium vanilla, and top cocoa powder make a big difference. They can turn your brownies from good to amazing.
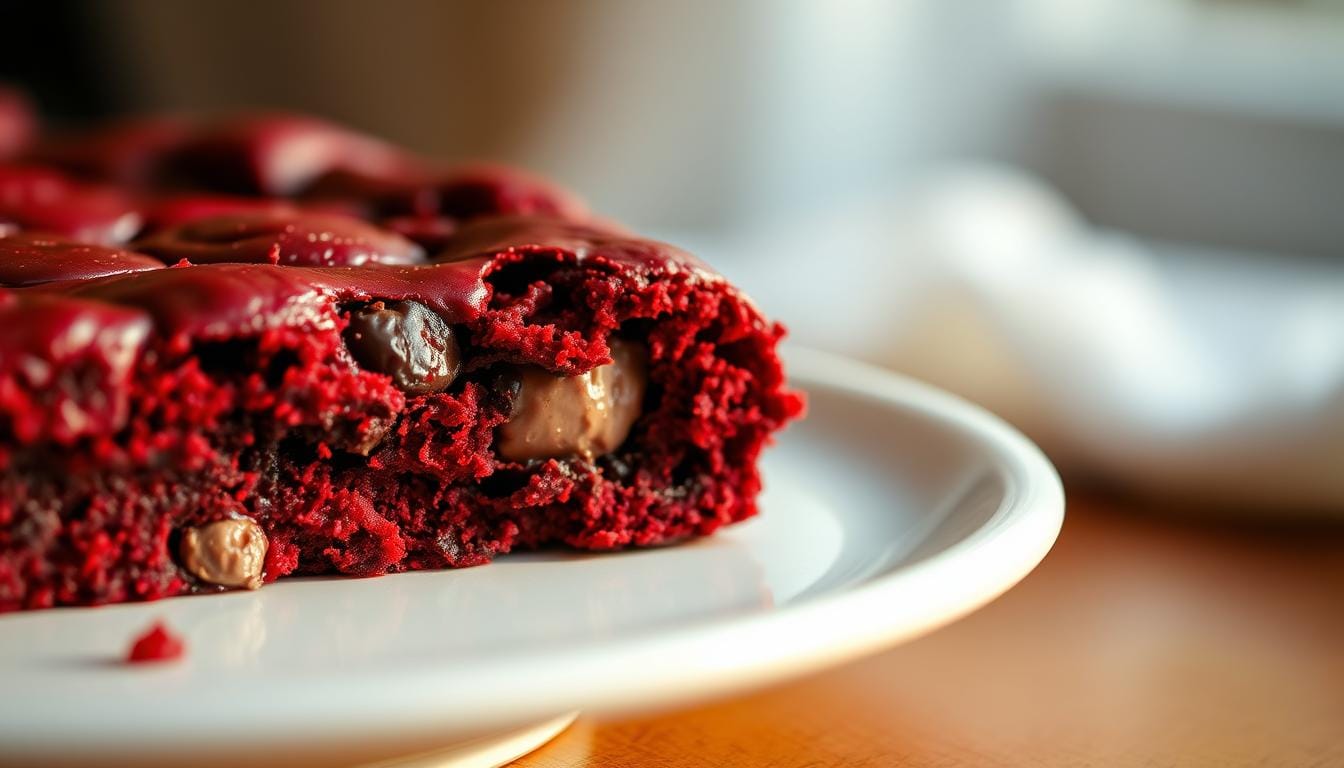
The Science Behind Creating Fudgy Red Velvet Texture
Making the perfect fudgy red velvet brownies is a mix of science and cooking art. Knowing what makes them so good can take your recipe to the next level.
Baking these treats is more than just mixing stuff together. Each part is key to making those fudgy brownies that just melt in your mouth.
Role of Different Fats in Brownie Making
The secret to fudginess is in the fat you use. Different fats do different things:
- Butter adds rich flavor and helps create structure
- Oil makes them moist and soft
- White chocolate adds creamy smoothness
Importance of Cocoa Powder Selection
Not all cocoa powders are the same. For red velvet brownies, pick high-quality cocoa. It should enhance the chocolate flavor without overpowering it.
| Cocoa Powder Type | Flavor Profile | Best Use |
|---|---|---|
| Natural Cocoa | Intense, slightly acidic | Enhances red velvet color |
| Dutch-Processed | Mild, smooth | Creates deeper chocolate notes |
Achieving the Perfect Moisture Balance
The key to fudgy red velvet brownies is the right moisture. Eggs and sugar work together for a tender, rich texture. It’s not too dry or too wet.
By grasping these scientific tips, you can turn your red velvet brownie recipe into a true masterpiece.
Step-by-Step Mixing and Preparation Method
Making the perfect easy red velvet brownies recipe needs careful steps. Follow these mixing steps for amazing results.
First, get your baking area ready. Collect all ingredients for your red velvet brownies. Make sure they’re at room temperature. This ensures a smooth batter that bakes well.
- Preheat your oven to 350°F
- Grease a 9×13 inch baking pan thoroughly
- Sift dry ingredients separately:
- All-purpose flour
- Cocoa powder
- Salt
- Baking powder
Pro tip: Sifting prevents lumps and makes your brownies silky smooth.
In another large bowl, mix wet ingredients. Beat eggs and sugars until they’re light and fluffy. Add vegetable oil, red food coloring, and vanilla extract slowly. Melt white chocolate and unsalted butter together for a creamy base.
Mix dry ingredients into wet mixture gently. Remember: Avoid overmixing to keep your brownies tender.
Pour the batter into the prepared pan and spread it evenly. Bake for 20-23 minutes. Check for the perfect fudgy texture.
Baking Tips and Techniques for Perfect Results
To make the best red velvet brownies, you need to be precise and pay close attention to details. These expert baking tips will help you turn a simple recipe into a stunning dessert.
Mastering the art of baking these treats requires careful attention to several key points. These points can either make or break your dessert.
Temperature and Timing Secrets
Oven temperature is crucial for perfect red velvet brownies. Here are some important guidelines:
- Preheat your oven to exactly 350°F
- Use an oven thermometer to check the temperature
- Rotate the pan halfway through baking for even heat
Selecting the Right Baking Pan
The pan you choose greatly affects your brownies’ texture:
- Metal pans heat more evenly
- Choose a light-colored 8×8 inch square pan
- Line the pan with parchment paper for easy removal
Determining Perfect Doneness
Checking your brownies for doneness requires careful observation:
- Insert a toothpick near the center
- Look for moist crumbs, not completely clean
- A slight wobble in the center means they’re fudgy
Pro tip: Take the brownies out of the oven when they look a bit underbaked. They’ll cook a bit more as they cool, making them rich and moist.
Creating the Perfect Cream Cheese Frosting
Your cream cheese frosted red velvet brownies need a luxurious topping. This topping should make the dessert even better. The secret to a great cream cheese frosting is in the preparation and quality of ingredients.
When making your red velvet brownies, the frosting is crucial. Start by picking the best ingredients:
- Full-fat cream cheese (room temperature)
- Unsalted butter (softened)
- Powdered sugar
- Pure vanilla extract
The secret to smooth frosting is temperature. Always use ingredients at room temperature to avoid lumps and get a silky texture. Beat the cream cheese and butter until they’re fully mixed and smooth.
Add powdered sugar slowly, mixing on low speed to avoid a sugar cloud. Once mixed, beat faster until the frosting is light and fluffy. It should be thick enough to spread but not too stiff.
Pro tip: If your frosting seems too thick, add a teaspoon of milk. If it’s too thin, add more powdered sugar.
Spread the frosting over cooled brownies with an offset spatula for a pro look. Chill for 30 minutes to set the frosting and bring out the flavors.
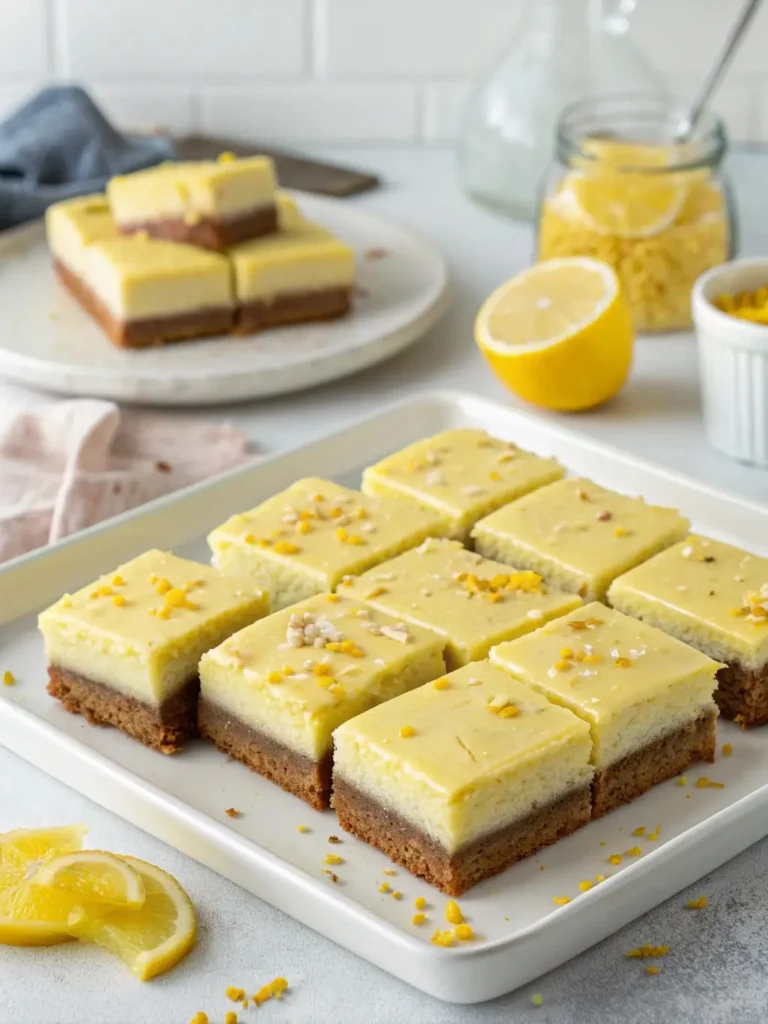
Decorating and Presentation Ideas
Turning your easy red velvet brownies into a stunning centerpiece is all about creative presentation. The right cutting and garnishing can make your red velvet brownie bites stand out.
Professional Cutting Techniques
Getting perfect slices is all about strategy. Here are some pro tips for cutting your red velvet brownies:
- Chill brownies in the freezer for 15-20 minutes before cutting
- Use a sharp, clean knife for precise edges
- Wipe the blade clean after each cut to prevent crumbling
- Cut in smooth, decisive motions
Stunning Garnishing Options
Make your red velvet brownie bites pop with these creative decorating ideas:
- Dust with powdered sugar for an elegant touch
- Drizzle white chocolate ganache
- Top with fresh raspberries or strawberry slices
- Sprinkle crushed candy canes for a festive look
“The art of dessert is not just in the taste, but in the presentation” – Pastry Chef Wisdom
Whether it’s for a party or a special treat, these easy red velvet brownies can be turned into a stunning dessert. They will impress your guests and satisfy their sweet tooth.
Storage and Make-Ahead Instructions
Your homemade red velvet brownies need the right storage to stay fresh. After making them, it’s key to know how to keep them good for a few days.
For short-term storage, follow these guidelines:
- Room temperature storage: Keep your homemade red velvet brownies in an airtight container for up to 2 days
- Refrigerator storage: Extend freshness by storing in a sealed container for up to 5 days
- Wrap individual brownies in plastic wrap to prevent moisture loss
Freezing is great for longer storage. Wrap each brownie in plastic wrap, then in a freezer-safe bag. They can stay frozen for up to 3 months without losing quality.
When you’re ready to enjoy frozen brownies, thaw them at room temperature for about an hour. To make them soft again, warm them in the microwave for 10-15 seconds.
Pro tip: Always let brownies cool completely before storing to prevent condensation and potential sogginess.
Make-ahead fans will love this recipe. It can be made a day in advance. This lets flavors mature and saves time at busy events.
Troubleshooting Common Issues
Baking the best red velvet brownies can sometimes present challenges. Even experienced bakers encounter occasional hiccups. These can affect the texture, color, and overall quality of their dessert. This guide will help you navigate and resolve common issues. This way, your red velvet brownies will turn out perfectly every time.
When creating fudgy red velvet brownies, several key problems might arise. These problems can happen during preparation and baking. Understanding these challenges will help you become a more confident baker.
Texture Troubleshooting
- Dry Brownies: Caused by overmixing or overbaking
- Crumbly Texture: Often results from incorrect fat proportions
- Undercooked Center: Typically due to incorrect oven temperature
Quick Texture Solutions
- Reduce baking time by 2-3 minutes
- Check oven temperature with a reliable thermometer
- Use room temperature ingredients
| Problem | Potential Cause | Solution |
|---|---|---|
| Dry Brownies | Overmixing batter | Mix ingredients until just combined |
| Uneven Color | Inconsistent food coloring | Whisk food coloring thoroughly |
| Tough Texture | Overworking flour | Fold gently, avoid aggressive mixing |
Color and Appearance Corrections
Achieving the signature vibrant red color in your best red velvet brownies requires careful attention. Start by using gel food coloring for more intense, even color distribution. Always sift cocoa powder to prevent clumping and ensure smooth color integration.
Remember that practice makes perfect. Each baking attempt brings you closer to mastering the art of creating irresistible fudgy red velvet brownies.
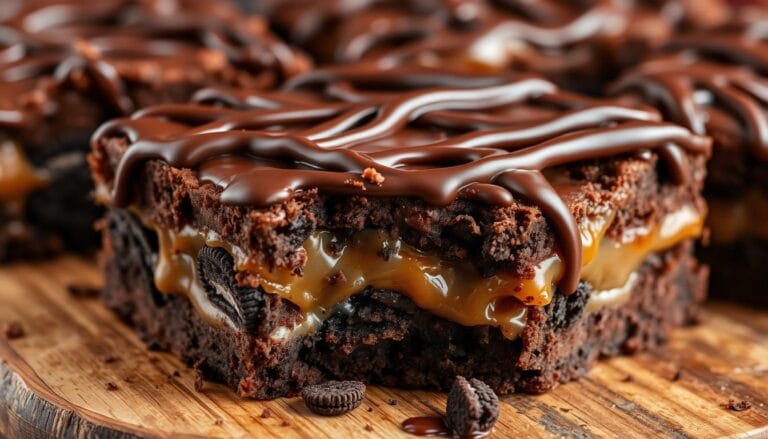
Variations and Mix-In Options
Make your easy red velvet brownies even better by trying new flavors and mix-ins. A basic red velvet brownie mix can be turned into something amazing. It’s all about adding your own twist.
Begin by checking out some tasty ways to enhance your red velvet brownie mix:
- Nutella Swirl: Make stunning marbled patterns with rich hazelnut spread
- Espresso Powder: Add a hint of coffee for extra depth
- Spice Variations: Try adding cinnamon or cayenne for a unique kick
Adding mix-ins can totally change how your brownies taste and feel. Here are some great options:
| Mix-In Category | Recommended Options | Flavor Profile |
|---|---|---|
| Nuts | Chopped walnuts, pecans | Crunchy texture |
| Chocolate | White chocolate chips, dark chocolate chunks | Rich intensity |
| Fruity | Raspberries, dried cherries | Tangy contrast |
When adding mix-ins, gently fold them in to keep the brownies fudgy. Use about 1 cup of mix-ins per batch. This keeps the flavors balanced and the brownies intact.
Pro tip: Always let your brownies cool completely before cutting. This helps keep their texture and look perfect.
Conclusion
Making homemade red velvet brownies is a fun journey. It mixes rich chocolate with a beautiful look. You’ve learned how easy it is to make a dessert that wows everyone.
This red velvet brownies recipe is very flexible. It’s perfect for any event or just because you want something sweet. You can try new things and make each batch your own.
With the skills from this guide, you’ll feel more confident baking these treats. Your brownies will show off your baking talent. They’ll be moist, colorful, and full of chocolate flavor.
Baking is all about trying new things and loving it. Feel free to add your own twist with mix-ins, frostings, or how you present them. Your special touch will make each batch a unique treat that shows off your baking style.
FAQ
What makes red velvet brownies different from regular chocolate brownies?
Red velvet brownies have a special taste that mixes cocoa with a tangy hint from buttermilk or vinegar. They have a unique red color and often include cream cheese. This makes them different from regular chocolate brownies.
Their flavor is more complex, with a subtle chocolate taste. They also have a velvety texture that makes them stand out.
Can I make red velvet brownies without food coloring?
Yes, you can make red velvet brownies without food coloring. Beetroot powder can give them a reddish color. Or, you can keep them a traditional brown color while still enjoying the red velvet taste.
How do I achieve the perfect fudgy texture in red velvet brownies?
To get fudgy red velvet brownies, use the right fats (butter and oil) and minimal flour. Avoid overmixing the batter. Use high-quality cocoa powder and room temperature eggs.
Don’t overbake. Take them out of the oven when a toothpick comes out with a few moist crumbs.
Can I make red velvet brownies gluten-free?
Yes, you can make gluten-free red velvet brownies. Use a gluten-free flour blend instead of regular flour. Make sure the blend includes xanthan gum or add it separately. Also, check that all other ingredients are gluten-free.
How long can I store red velvet brownies?
Unfrosted red velvet brownies can last up to 5 days at room temperature in an airtight container. If frosted, store them in the fridge for 5-7 days. You can freeze them without frosting for up to 3 months.
Can I add mix-ins to my red velvet brownies?
Yes, you can add mix-ins like chocolate chips, nuts, or white chocolate chips. But don’t add too much. 1/2 to 3/4 cup is best to keep the texture right.
What’s the best way to cut red velvet brownies cleanly?
Chill the brownies before cutting for clean cuts. Use a sharp knife and clean it between cuts. Parchment paper in the pan makes cutting easier. If frosted, clean the knife with a damp cloth for smooth edges.
Can I make red velvet brownies without cream cheese frosting?
While cream cheese frosting is traditional, you can enjoy red velvet brownies without it. Try powdered sugar, chocolate ganache, or vanilla glaze. They’re delicious on their own and can be enjoyed in many ways.